This is Part 1. There is also Part 2, Part 3, Part 4, Part 5, Part 6, Part 7 and Part 8.
What Are Text-to-Image Systems
Text-to-Image systems/models/scripts/networks (what is the official correct term for these?) are machine learning based models that take a descriptive phrase as input and attempt to generate images that match the input phrase.
Requirements
You do need a decent NVIDIA GPU. 3090 recommended for 768×768 resolution, 2080 for smaller 256×256 images, 10xx possibly for tiny images or if you want to try reduced settings and wait ages for results. If you have a commercial grade GPU with more memory you will be able to push these resolutions higher. VRAM matters more than GPU model, ie you can get 3090s with only 16GB of VRAM and others with 24GB. You may see a laptop with an advertised 3080 GPU, but the total VRAM will likely be much smaller than a desktop 3080. I have now updated these posts with the maximum resolution and times for a 2080 SUPER with 8GB VRAM to give people an idea of what an 8GB VRAM GPU will do.
To run these scripts from Visions of Chaos you need to have installed these prerequisites. Once you get all the prerequisites setup it really is as simple as typing your prompt text and clicking a button. I do include a lot of other settings so you can tweak the script parameters as you do more experimentation.

Visions of Chaos Text-to-Image Tutorial
You can watch the following tutorial video to get an idea of how the Text-to-Image mode works in Visions of Chaos.
Text-to-Image Scripts Included With Visions of Chaos
The rest of this blog post (and other parts) lists the 115 (so far) Text-to-Image scripts that I have been able to get working with Visions of Chaos.
If you are the author of one of these scripts then many thanks to you for sharing the code publicly. If you are a creator of a script I do not include here, please leave a comment with a link or send me an email so I can try it out. If you are a better coder than I am and improve any of these also let me know and I will share your fixes with the world.
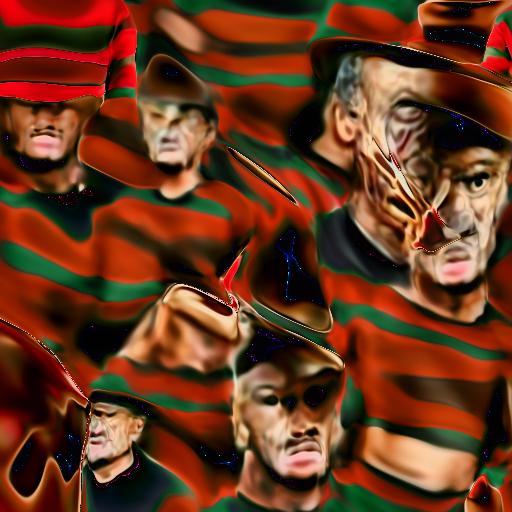
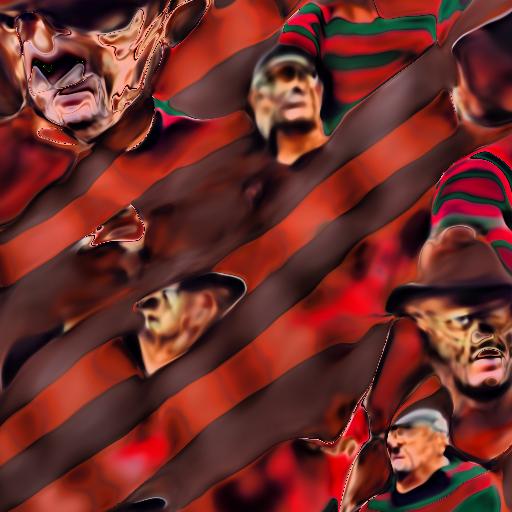
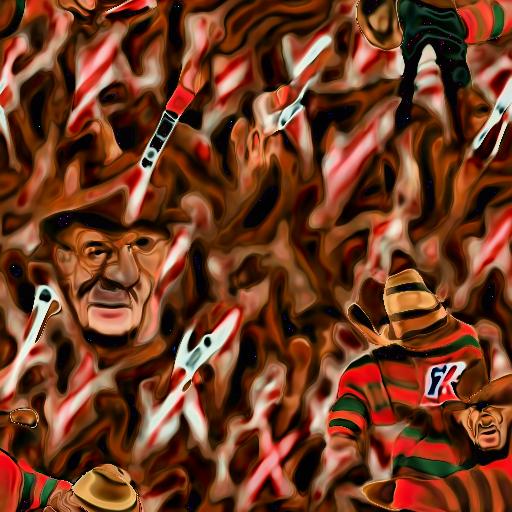
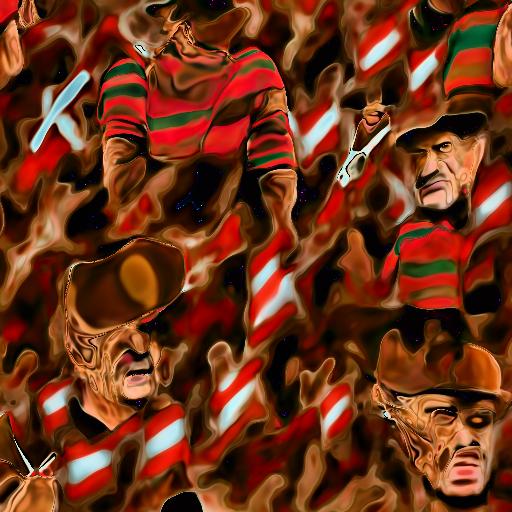
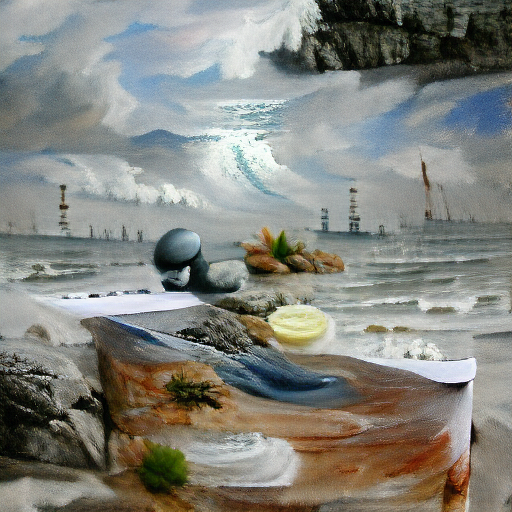
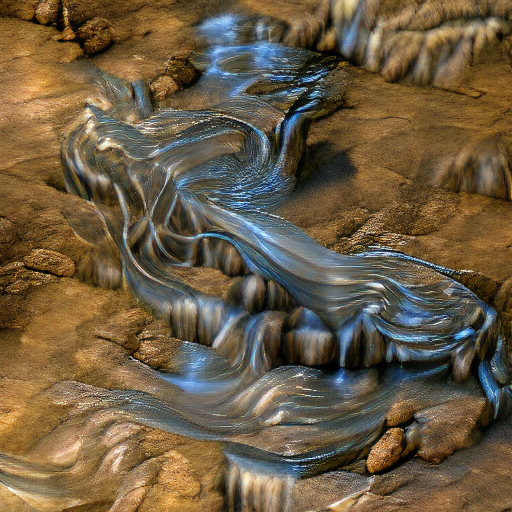
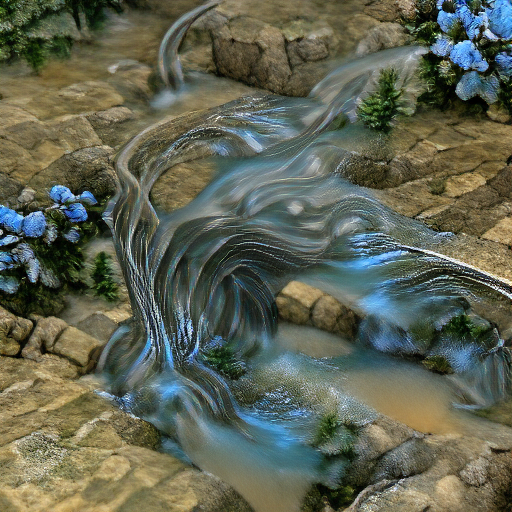
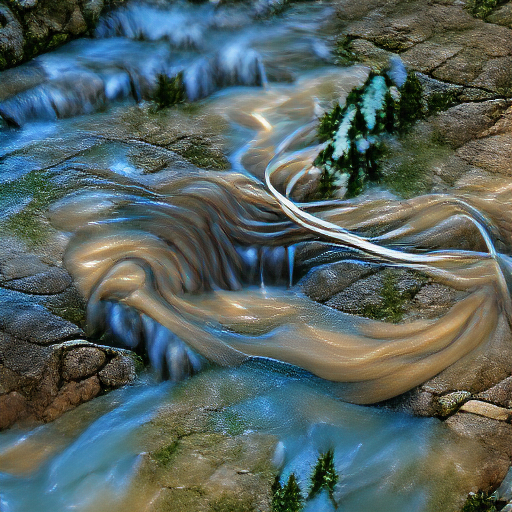
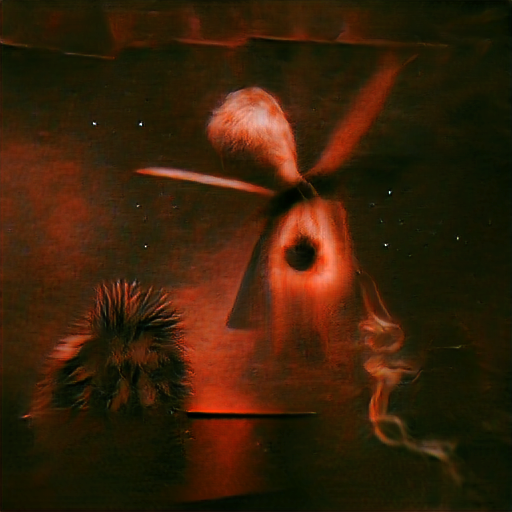
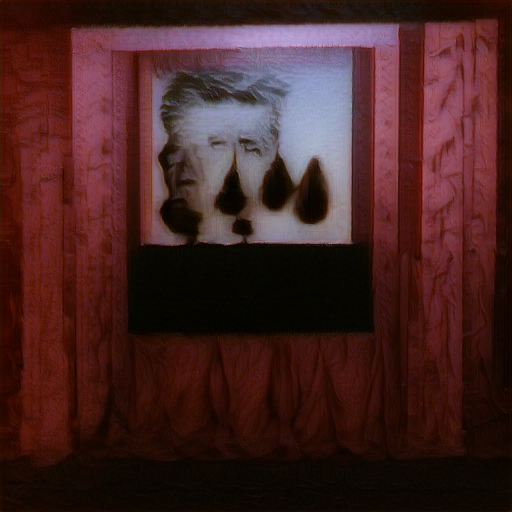
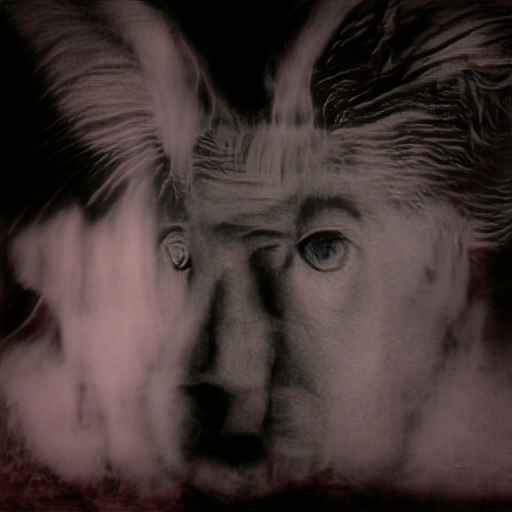
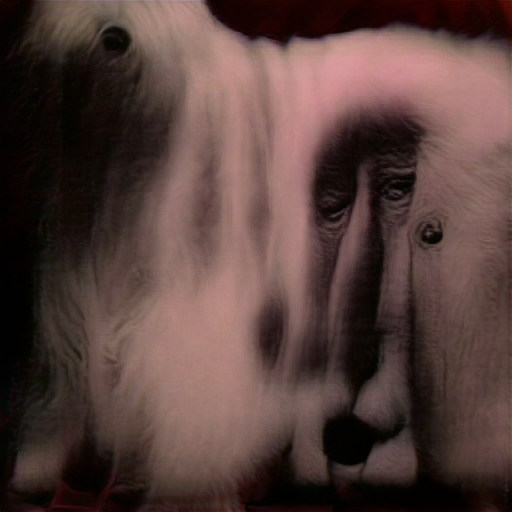
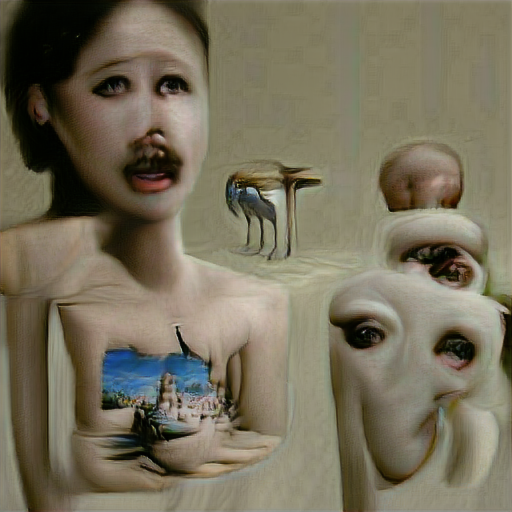
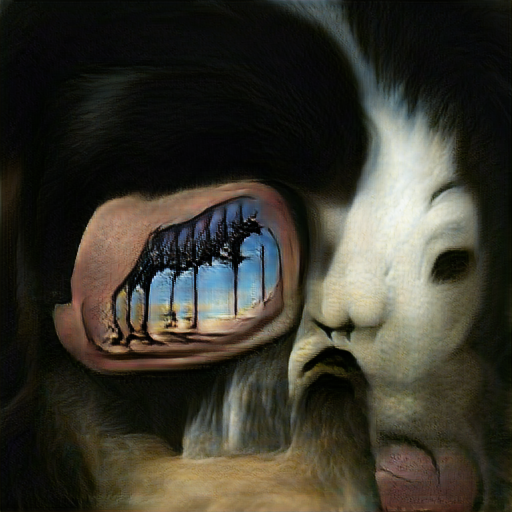
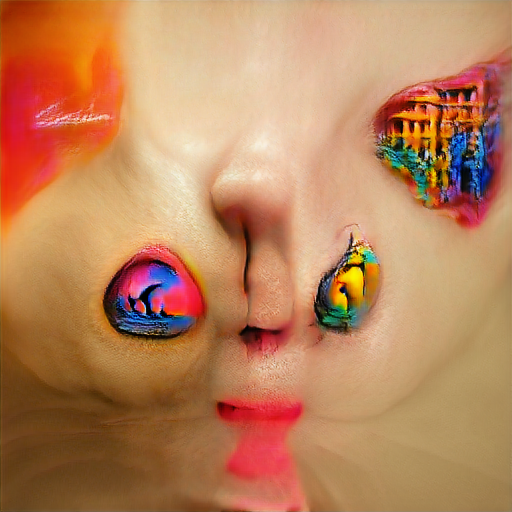
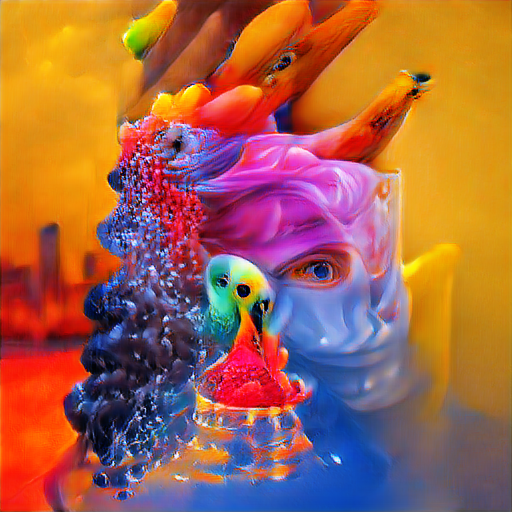
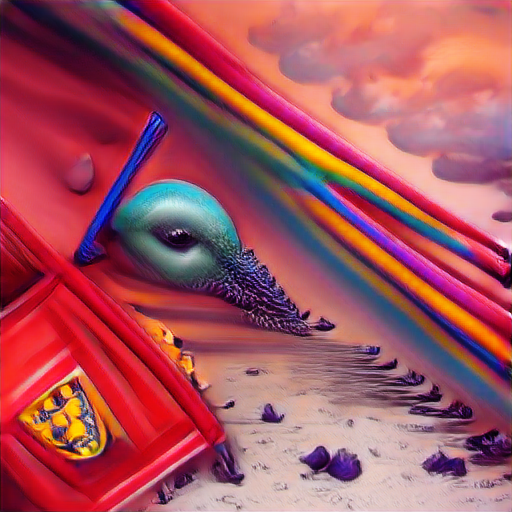
I have included sample image outputs from each script. Most of the text prompts for these samples come from a prompt builder I include with Visions of Chaos that randomly combines subjects, adjectives, styles and artists.
Note also that these samples all use the default settings for GAN and CLIP models. Most of the included scripts allow tweaking of settings and different models to alter the outputs. There is a much wider range of output images possible. Download Visions of Chaos to experiment with all the combinations of scripts, models, prompts and settings.
Name: Deep Daze
Author: Phil Wang
Original script: https://github.com/lucidrains/deep-daze
Time for 512×512 on a 3090: 1 minutes 53 seconds.
Maximum resolution on a 24 GB 3090: 1024×1024
Maximum resolution on an 8GB 2080: 256×256 1 minute 9 seconds
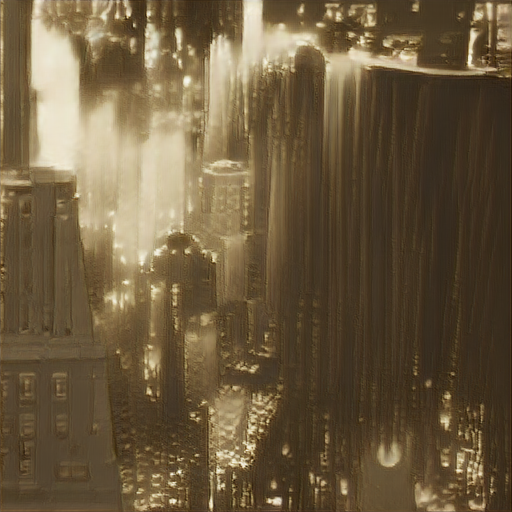
Description: This was the first Text-to-Image script I ever found and tested. The output images from the original script are very washed out and pastel shaded, but after adding some torchvision transforms for brightness, contrast and sharpness tweaks they are a little better. Very abstract output compared to the other scripts.

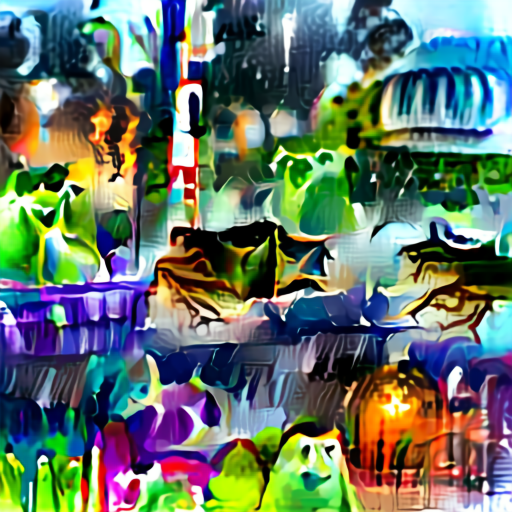
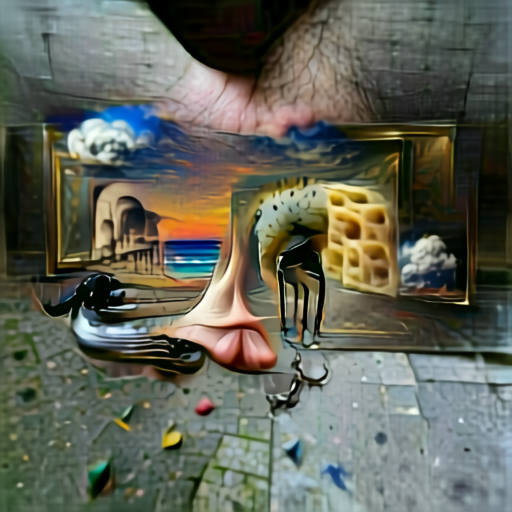
a bronze sculpture of a colorful parrot in the style of Kandinsky

a crying person

a desert oasis

a surrealist painting of the Terminator made of silver

a zombie in the style of Turner
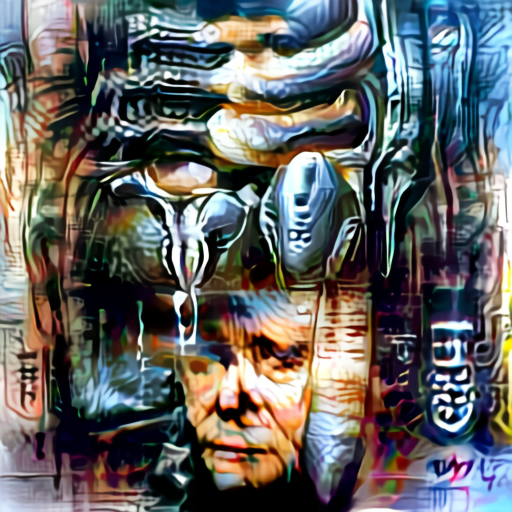
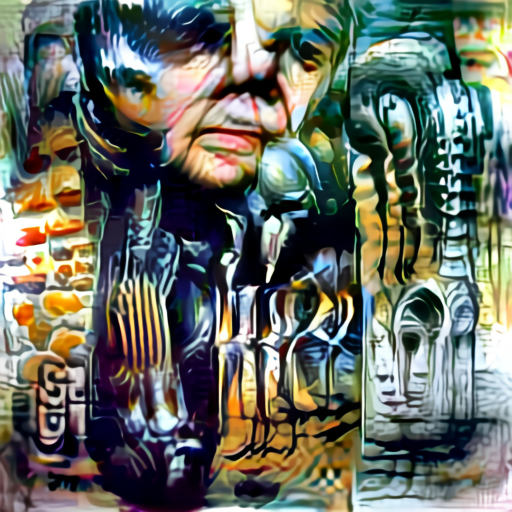
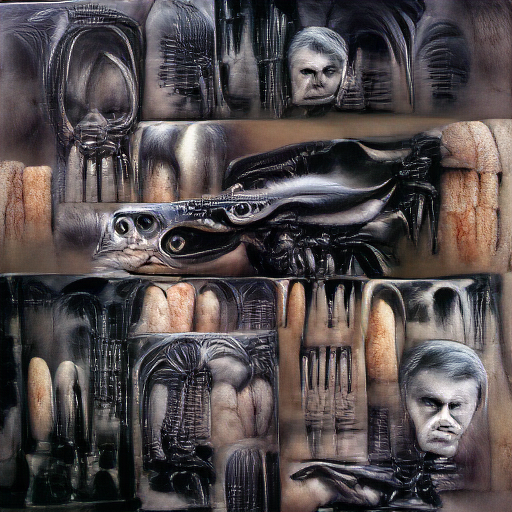
Name: Big Sleep
Author: Phil Wang
Original script: https://github.com/lucidrains/big-sleep
Time for 512×512 on a 3090: 4 minutes 0 seconds
Maximum resolution on a 24 GB 3090: 512×512
Maximum resolution on an 8GB 2080: 512×512 6 minutes 39 seconds
Description: Can give a good variety of images for any prompt text and does not suffer from the coloring or tiled image issues some of the other methods do. See here for my older post with a lot of Big Sleep examples. If you give it a chance and run repeated batches of the same prompt you can get some very nice results.
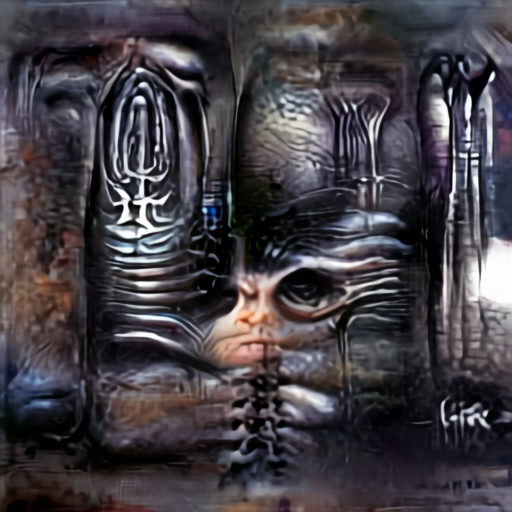
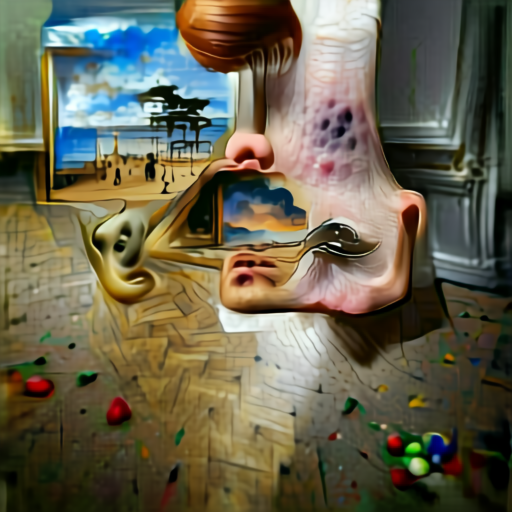
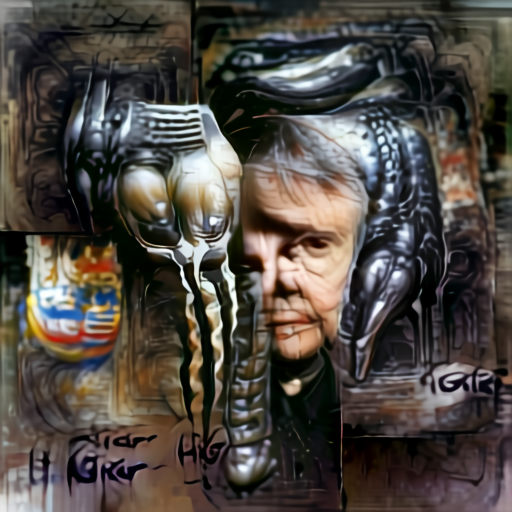
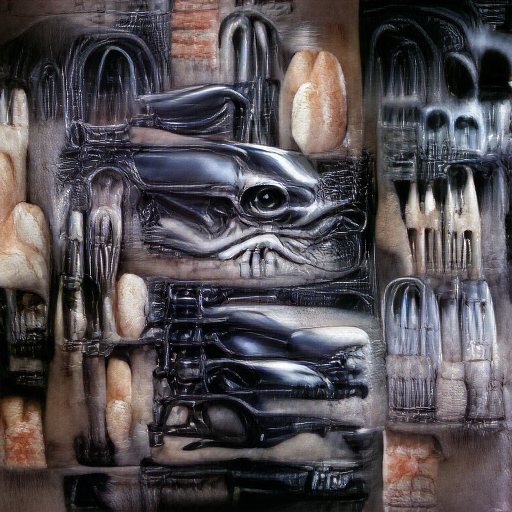
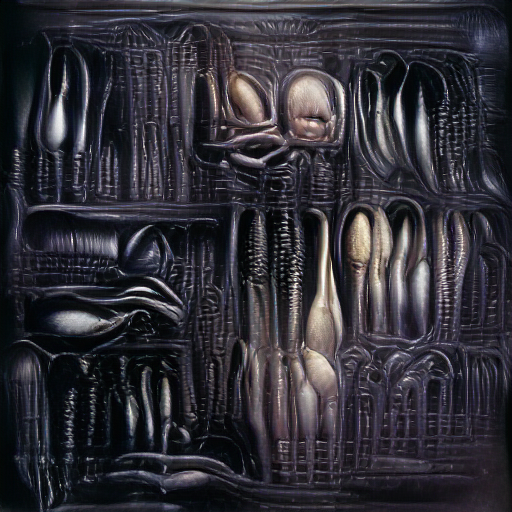
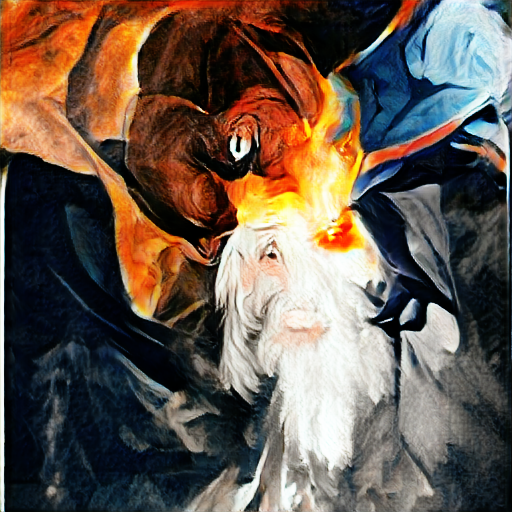
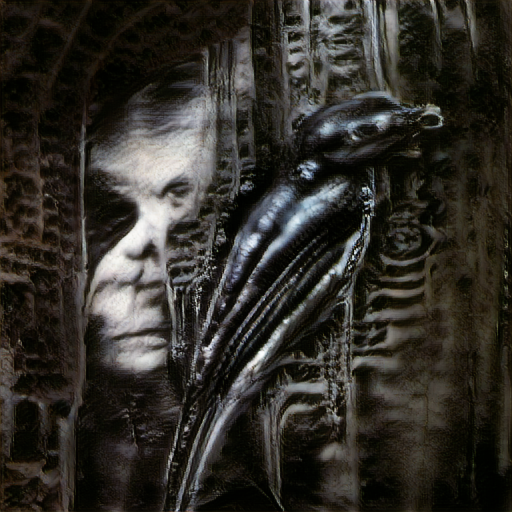
H R Giger
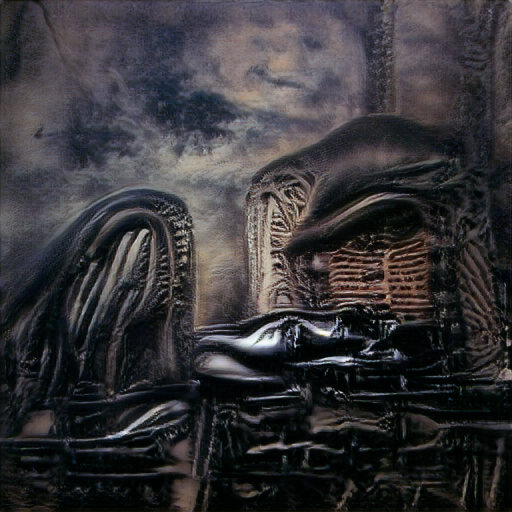
surrealism
colorful surrealism

a charcoal drawing of a landscape
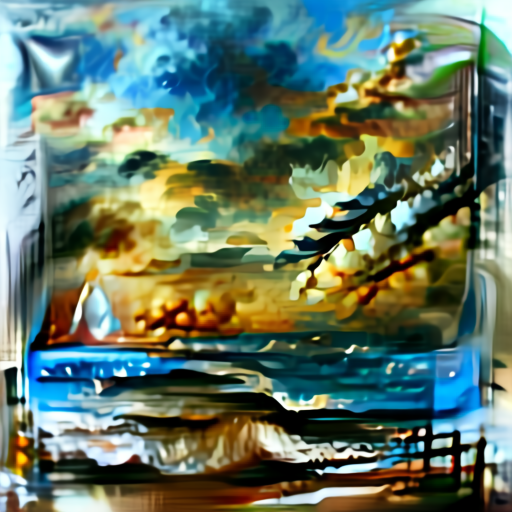
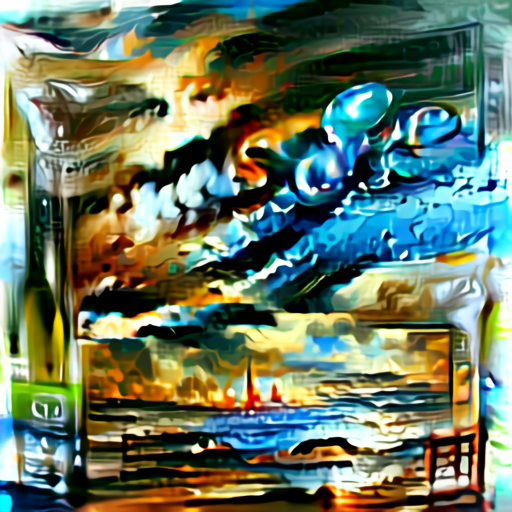
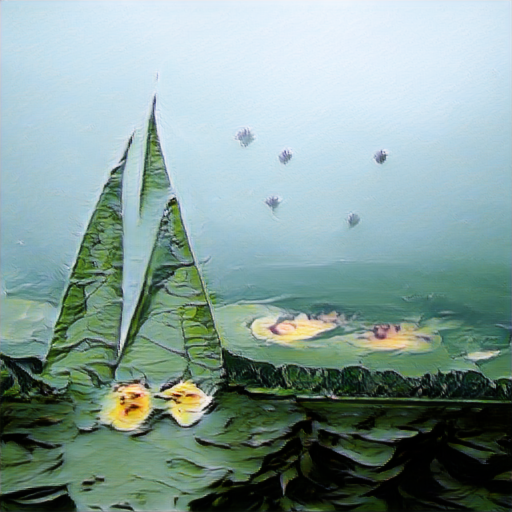
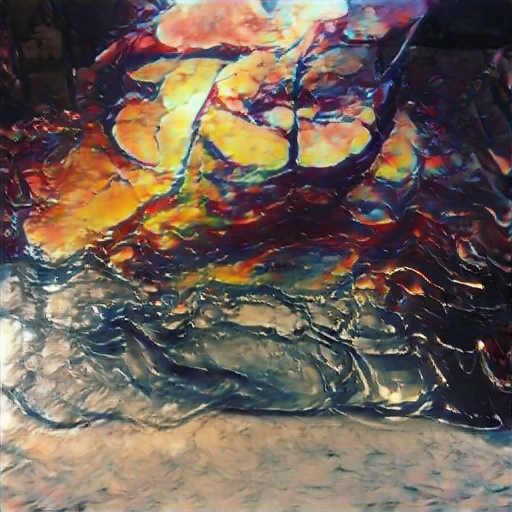
Name: VQGAN+CLIP z-quantize
Author: Katherine Crowson
Original script: https://colab.research.google.com/drive/1L8oL-vLJXVcRzCFbPwOoMkPKJ8-aYdPN
Time for 512×512 on a 3090: 3 minutes 11 seconds
Maximum resolution on a 24 GB 3090: 768×768 or 1120×480
Maximum resolution on an 8GB 2080: 256×256 6 minutes 39 seconds
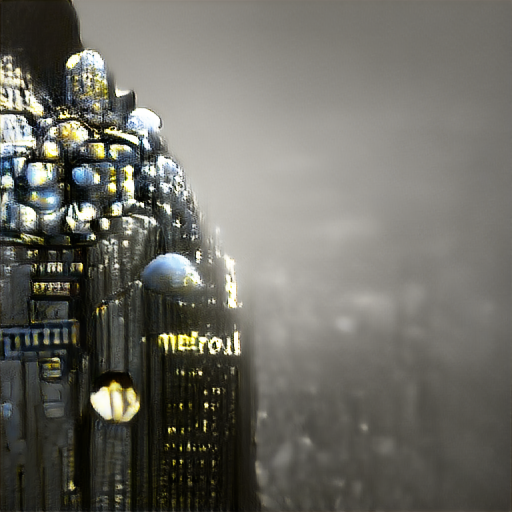
Description: The outputs tend to be divided up into rectangular regions, but the resulting imagery can be interesting.

a drawing of a bouquet of flowers made of cardboard

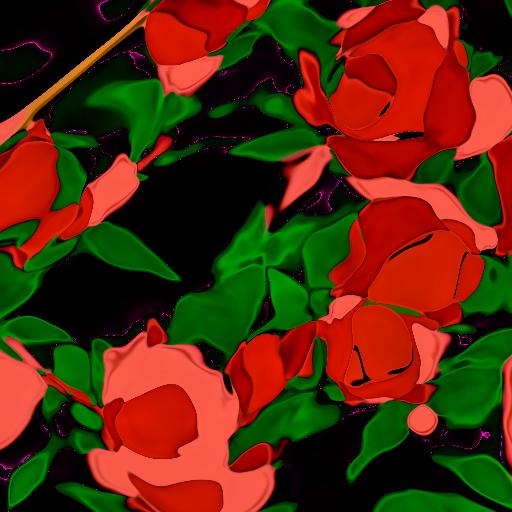
a rose made of silver

a tilt shift photo of traffic

an abstract painting of a house made of crystals

an abstract painting of a skull
VQGAN+CLIP z-quantize allows specifying an image as the input starting point. If you take the output, stretch it very slightly, and then feed it back into the system each frame you get a movie zooming in. For this movie I used SRCNN Super Resolution to double the resolution of the frames and then Super Slo-Mo for optical flow frame interpolation (both SRCNN and Super Slo-Mo are included with Visions of Chaos). The VQGAN model was “vqgan_imagenet_f16_16384” and the CLIP model was “ViT-B/32”. The prompts were the seven deadly sins, ie “a watercolor painting depicting pride”, “a watercolor painting depicting greed” etc.
The more astute viewers among you will notice there are only 6 of the sins in the previous video. What happened to “lust”? A while back one of my uploads was flagged as porn by the YouTube robots. Their (what I assume is) machine learning based system detected my upload as porn when there was no porn in it. An appeal was met with instant denial and so I now have a permanent “warning” on my channel with no way to talk to a person who could spend 1 minute looking at the video to tell it isn’t porn. Another warning would lead to a strike, so I am being overly cautious and omitting the lust part from the YouTube video. Those who want to see the full 7 part movie can click the following link to watch it on my LBRY channel.
https://open.lbry.com/@Softology:5/Seven-Deadly-Sins:6
Thanks LBRY!
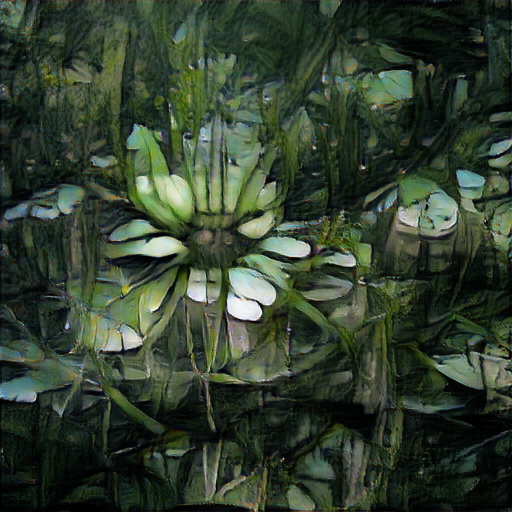
Name: VQGAN+CLIP codebook
Author: Katherine Crowson
Original script: https://colab.research.google.com/drive/15UwYDsnNeldJFHJ9NdgYBYeo6xPmSelP
Time for 512×512 on a 3090: 3 minutes 19 seconds
Maximum resolution on a 24 GB 3090: 768×768 or 1120×480
Maximum resolution on an 8GB 2080: 256×256 3 minutes 46 seconds
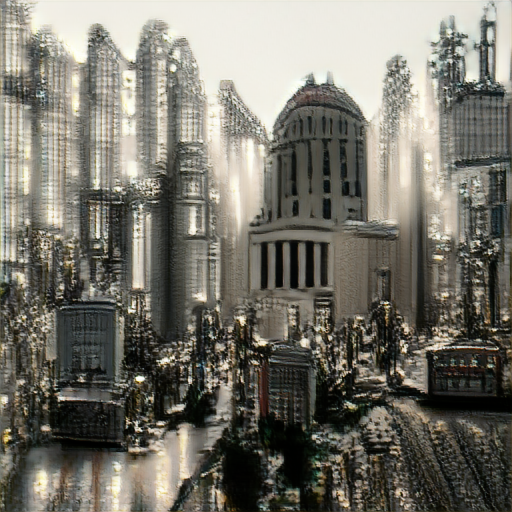
Description: VQGAN-CLIP codebook seem to give very similar images for the same prompt phrase, so repeatedly running the script (with different seed values) does not give a wide variety of resulting images. Still gives interesting results.

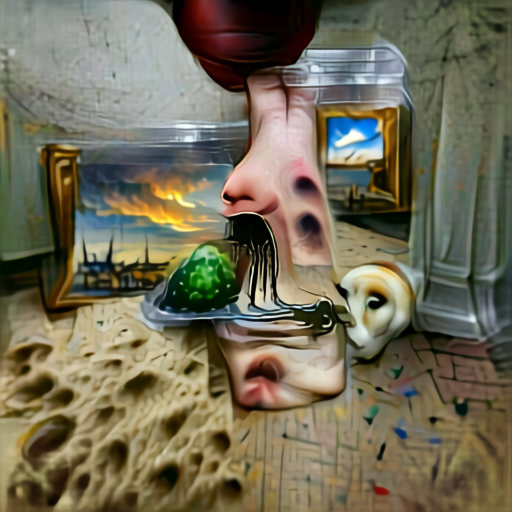
a happy alien

a library

a teddy bear

digital art of a colorful parrot

digital art of an amusement park
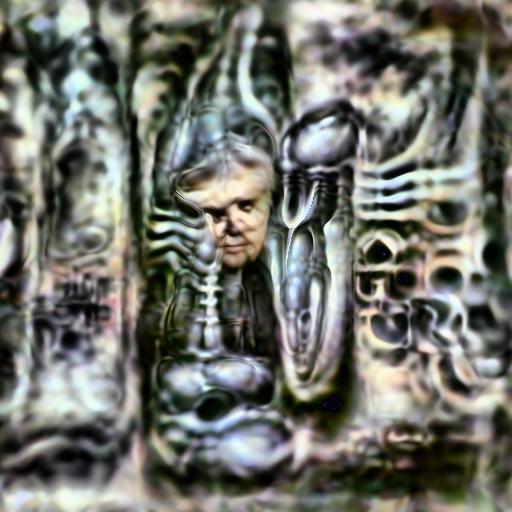
Name: Aleph2Image Gamma
Author: Ryan Murdock
Original script: https://colab.research.google.com/drive/1VAO22MNQekkrVq8ey2pCRznz4A0_jY29
Time for 512×512 on a 3090: 2 minutes 1 second
Maximum resolution on a 24 GB 3090: Locked to 512×512
Maximum resolution on an 8GB 2080: Unable to run on 8GB VRAM
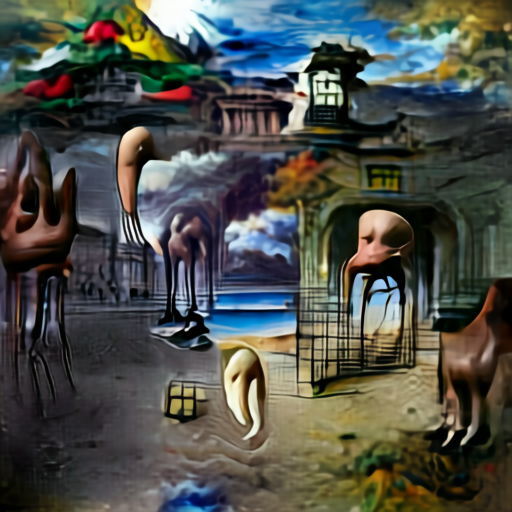
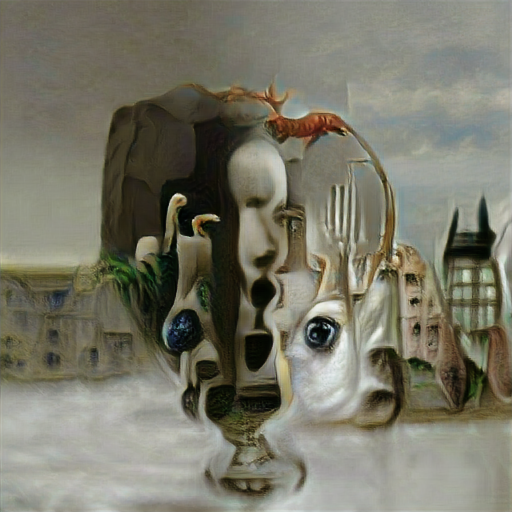
Description: This one seems to evolve white blotches that grow and take over the entire image. Before the white out stage the images tend to have too much contrast.

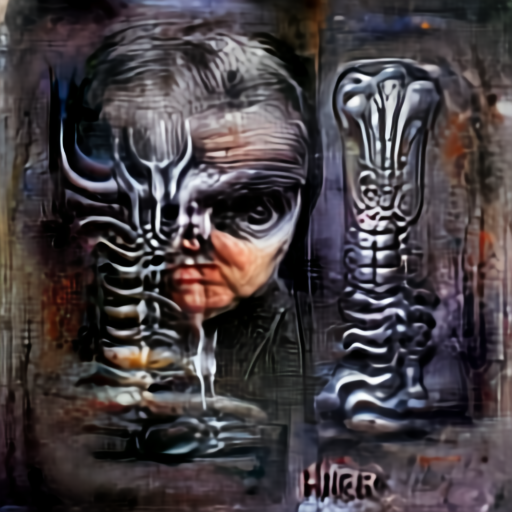
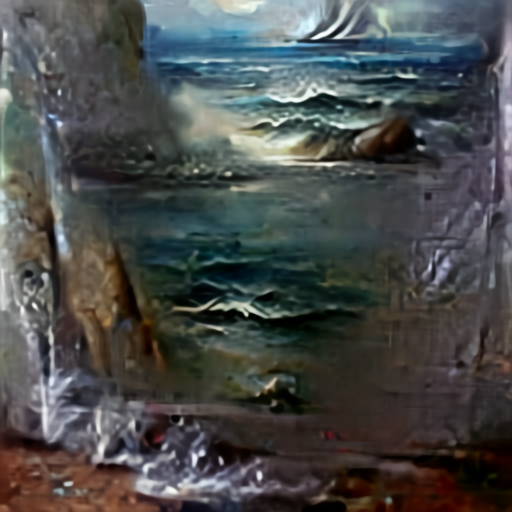
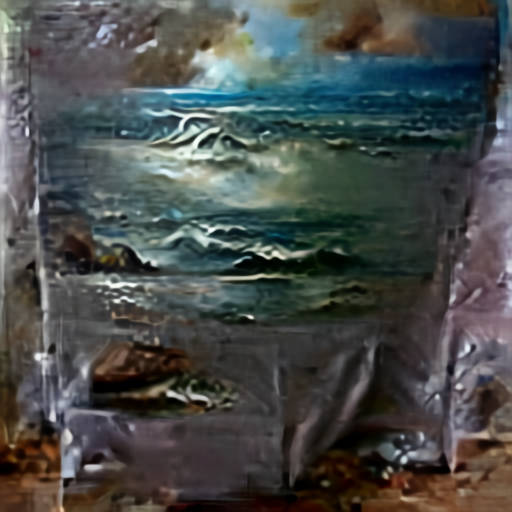
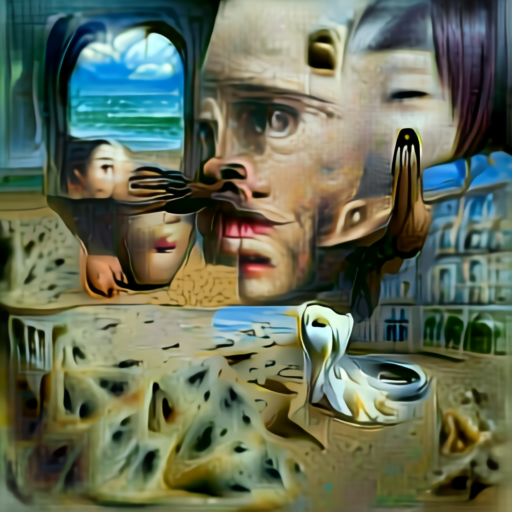
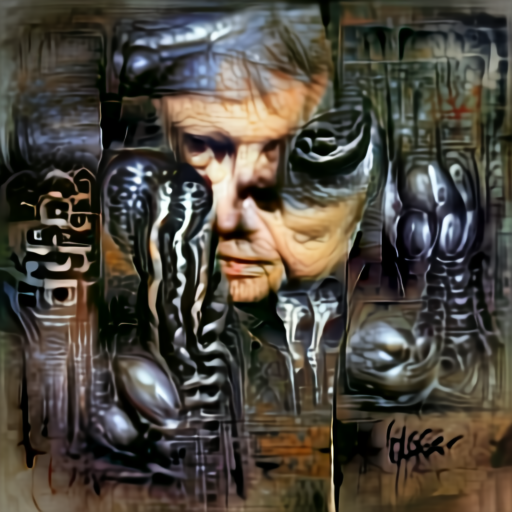
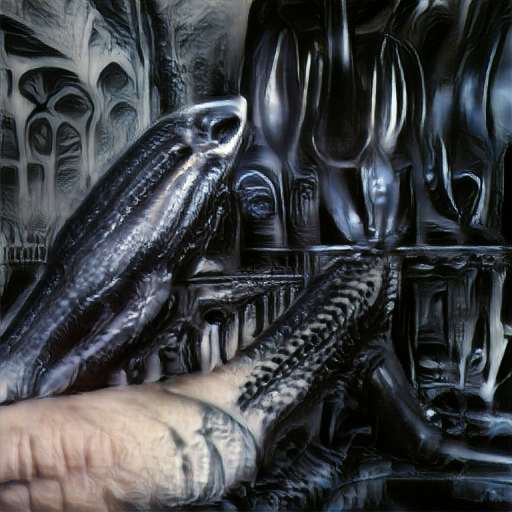
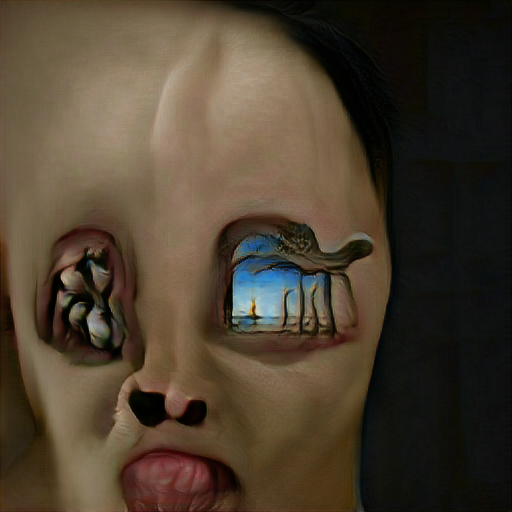
H R Giger

surrealism

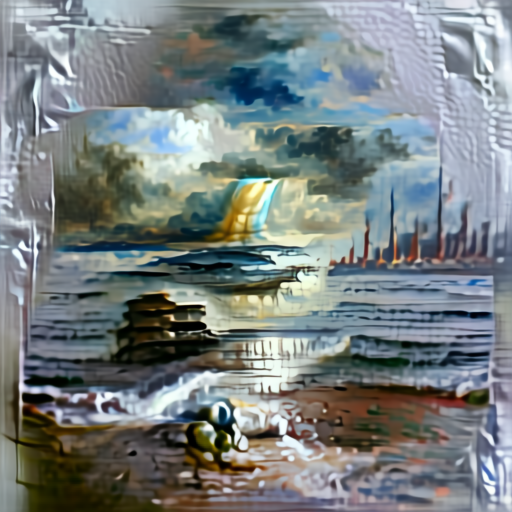
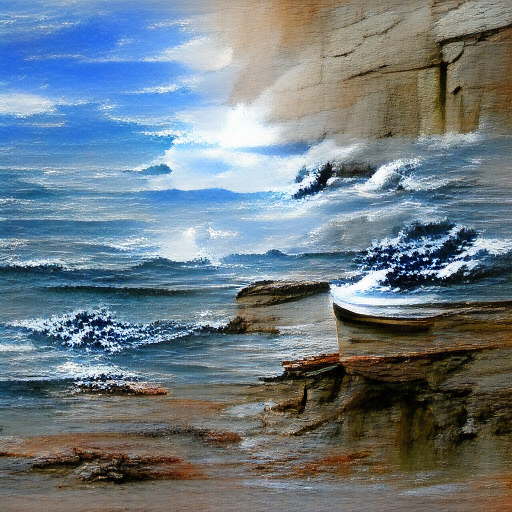
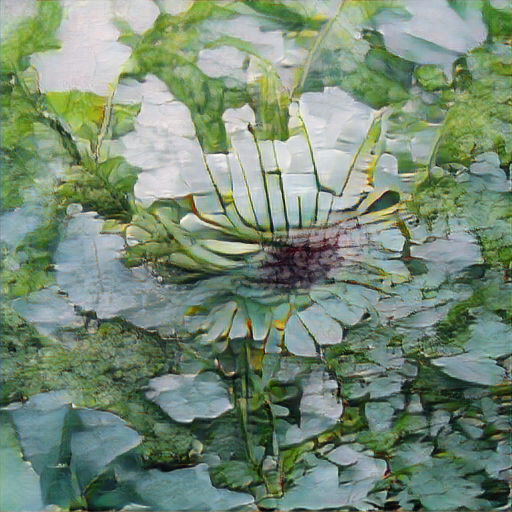
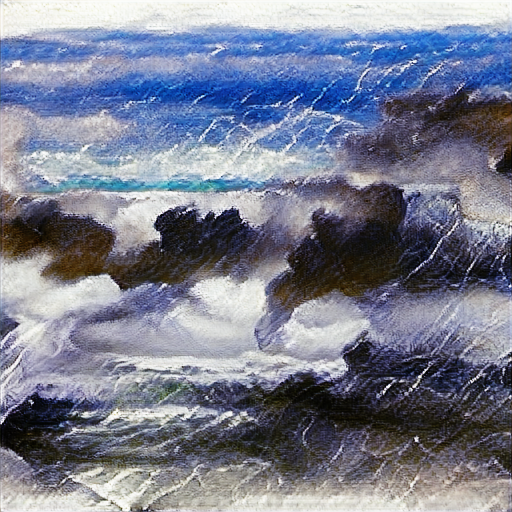
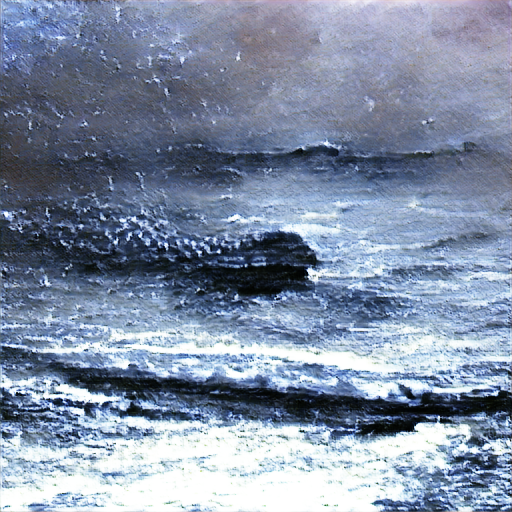
seascape painting
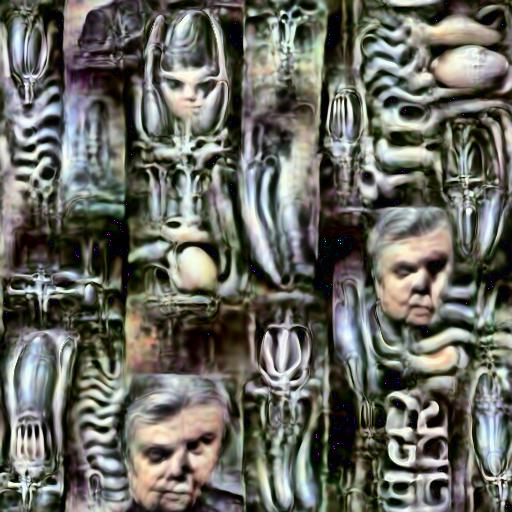
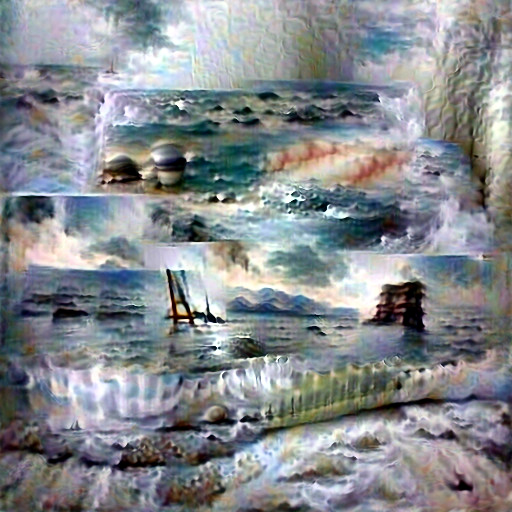
Name: Aleph2Image Delta
Author: Ryan Murdock
Original script: https://colab.research.google.com/drive/1oA1fZP7N1uPBxwbGIvOEXbTsq2ORa9vb
Time for 512×512 on a 3090: 2 minutes 1 second
Maximum resolution on a 24 GB 3090: Locked to 512×512
Maximum resolution on an 8GB 2080: Unable to run on 8GB VRAM
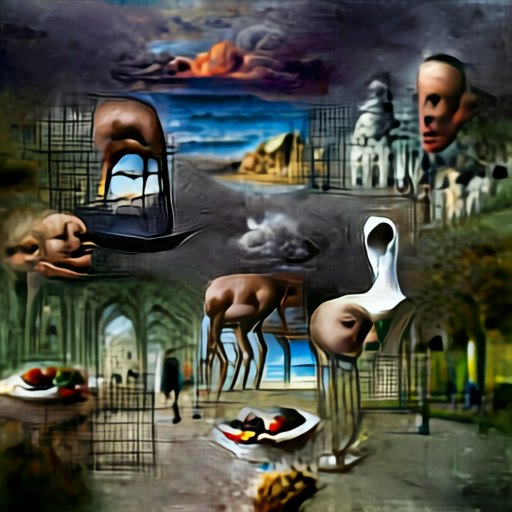
Description: A newer revision of Aleph2Image that doesn’t have the white out issues. The resulting images have much more vibrant colors and that may be a good or bad point depending on your preferences.

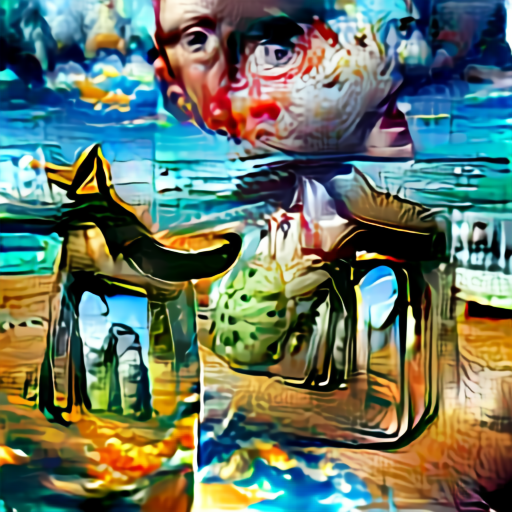
a sketch of an angry person

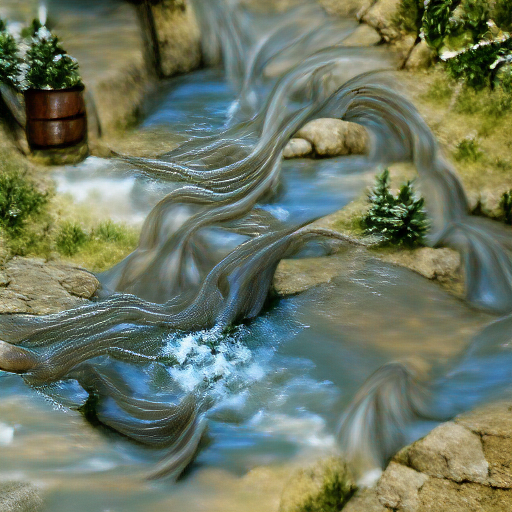
a spooky forest

a sunset in the style of Rembrandt

a surrealist painting of a forest path

a tropical beach
Name: Aleph2Image Delta v2
Author: Ryan Murdock
Original script: https://colab.research.google.com/drive/1NGM9L8qP0gwl5z5GAuB_bd0wTNsxqclG
Time for 512×512 on a 3090: 3 minutes 42 seconds
Maximum resolution on a 24 GB 3090: Locked to 512×512
Maximum resolution on an 8GB 2080: 512×512 7 minutes 05 seconds
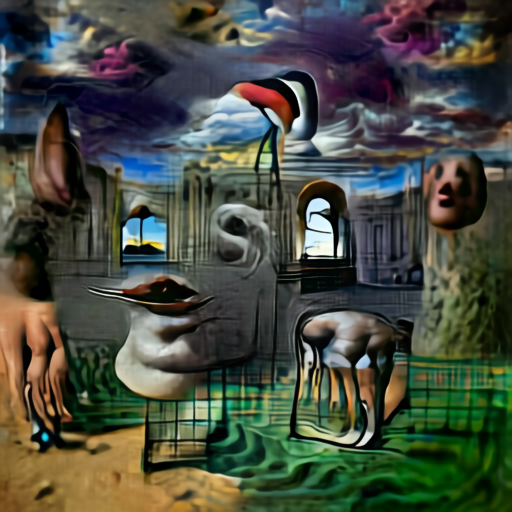
Description: A newer revision of Aleph2Image Delta that gives much sharper results. The resulting images tend to be similar to each other for each prompt text so not a lot of variety.

a cartoon of love in the style of Claude Monet

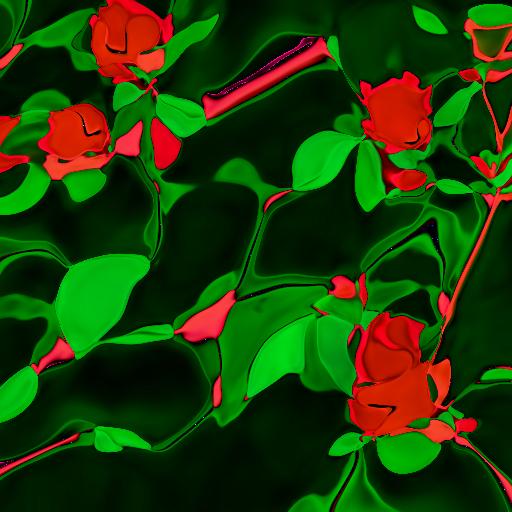
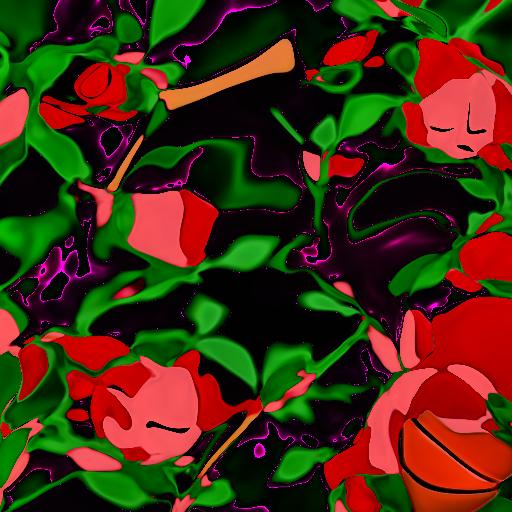
a detailed painting of a rose

a drawing of a volcano

a house
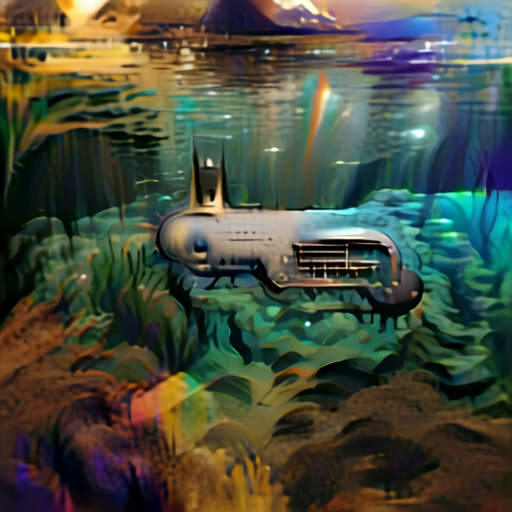
a submarine
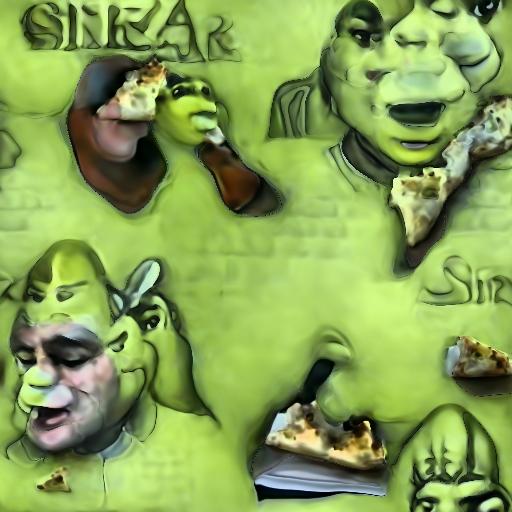
Name: Deep Daze Fourier
Author: Vadim Epstein
Original script: https://colab.research.google.com/gist/afiaka87/e018dfa86d8a716662d30c543ce1b78e/text2image-siren.ipynb
Time for 512×512 on a 3090: 4 minutes 54 seconds
Maximum resolution on a 24 GB 3090: 512×512 or 640×360
Maximum resolution on an 8GB 2080: 128×128 2 minutes 59 seconds
Description: Creates more collaged images with sharp, crisp bright colors.

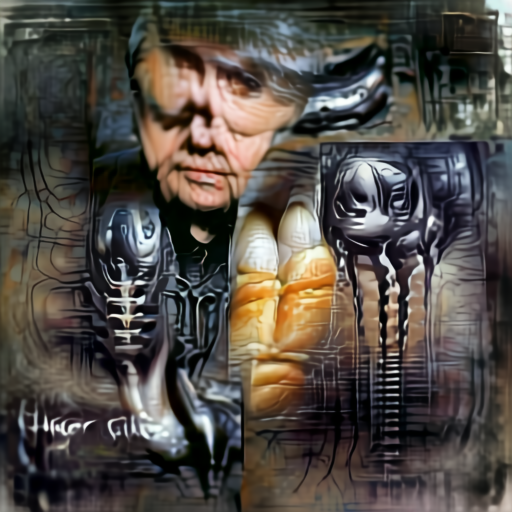
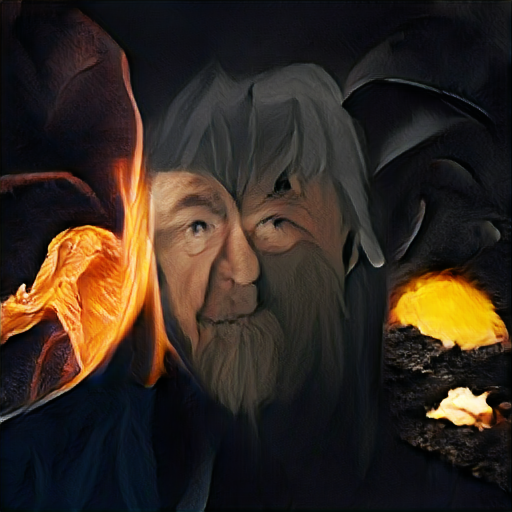
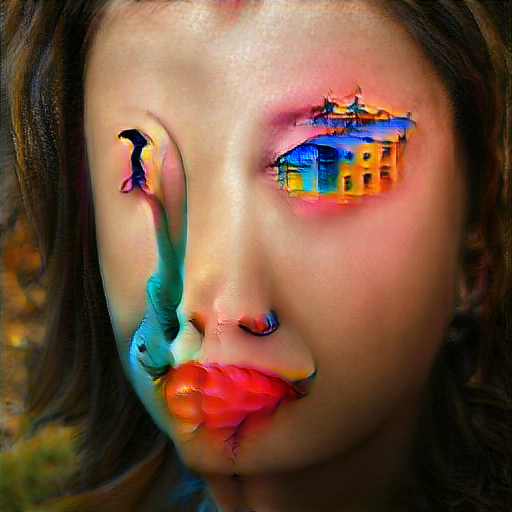
a pencil sketch of a vampire made of bones

H R Giger

medusa made of wood
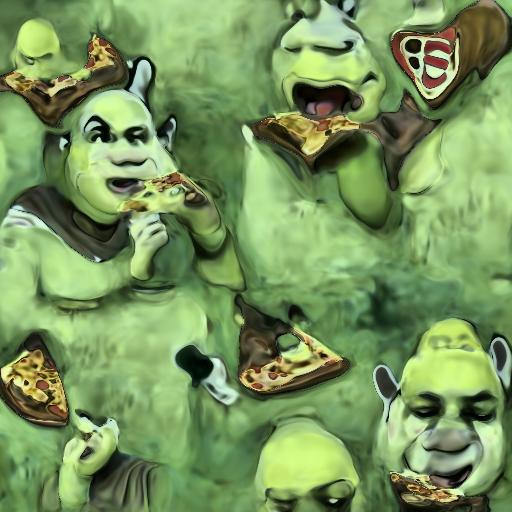
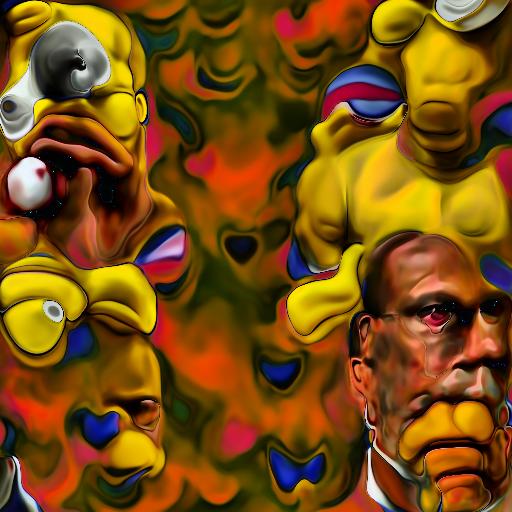
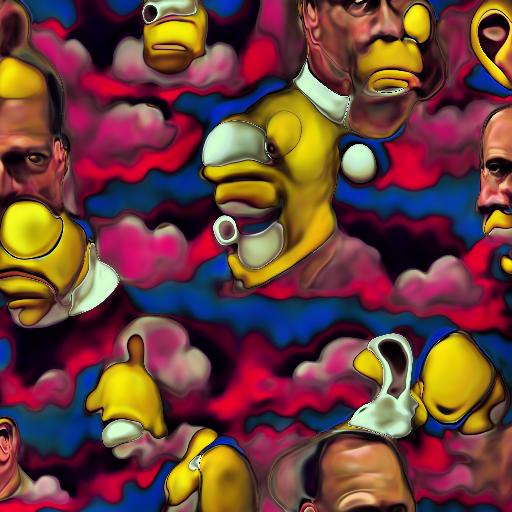
Shrek eating pizza

surrealist Homer Simpson
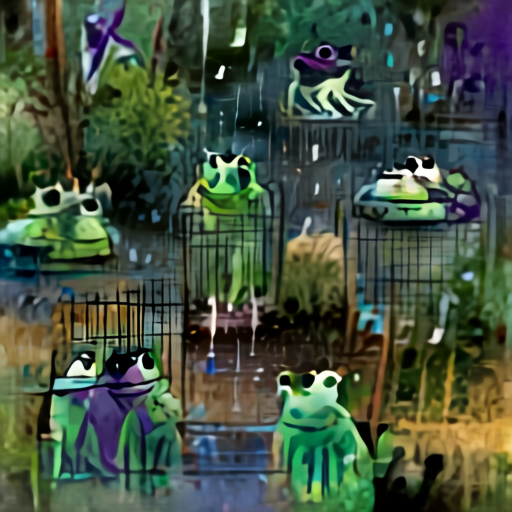
Name: Text2Image v2
Author: Denis Malimonov
Original script: https://colab.research.google.com/github/tg-bomze/collection-of-notebooks/blob/master/Text2Image_v2.ipynb
Time for 512×512 on a 3090: 1 minute 48 seconds
Maximum resolution on a 24 GB 3090: Locked to 512×512
Maximum resolution on an 8GB 2080: 512×512 3 minutes 12 seconds
Description: Can give more abstract results of the input phrase. Colors and details can be sharp, but not always. Good variety of output for each input phrase. Definitely worth a try.

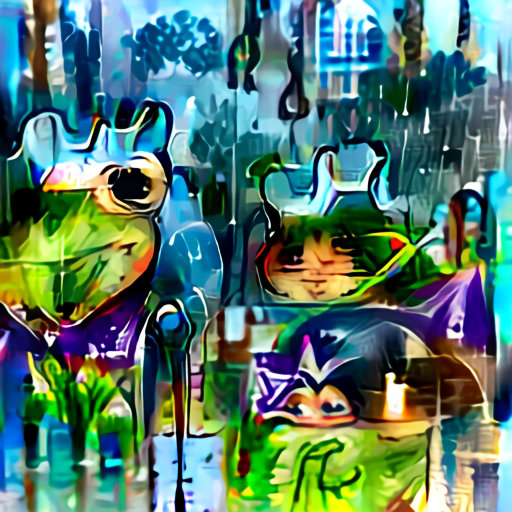
a fireplace made of voxels

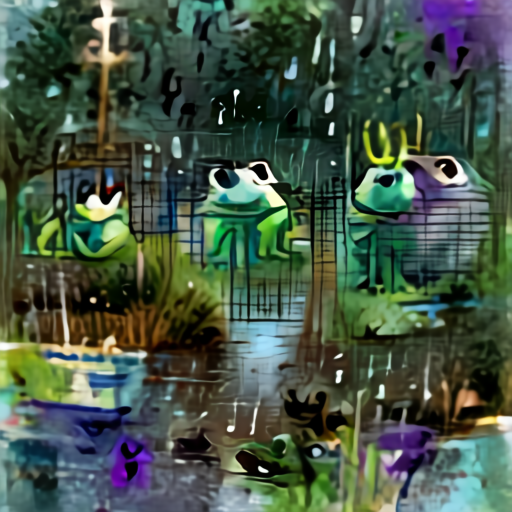
a green tree frog in the style of M C Escher

a pencil sketch of an evil alien

a sea monster

The Incredible Hulk made of silver
Name: The Big Sleep Customized
Author: NMKD
Original script: https://colab.research.google.com/drive/1Q2DIeMqYm_Sc5mlurnnurMMVqlgXpZNO
Time for 512×512 on a 3090: 1 minute 45 seconds
Maximum resolution on a 24 GB 3090: Locked to 512×512
Maximum resolution on an 8GB 2080: 512×512 3 minutes 09 seconds
Description: Another good one. Worth exploring further.

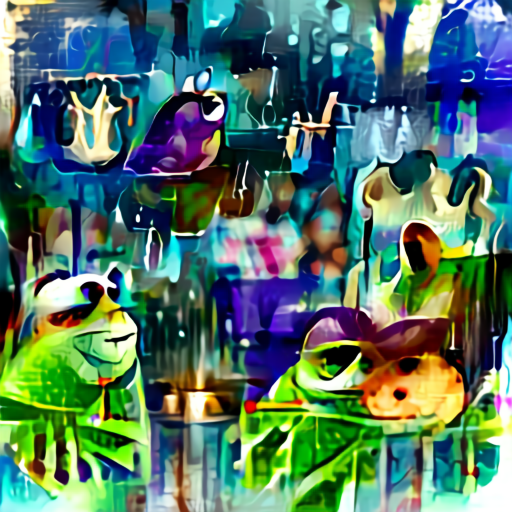
a forest path

a watercolor painting of a colorful parrot in the style of Kandinsky

a western town
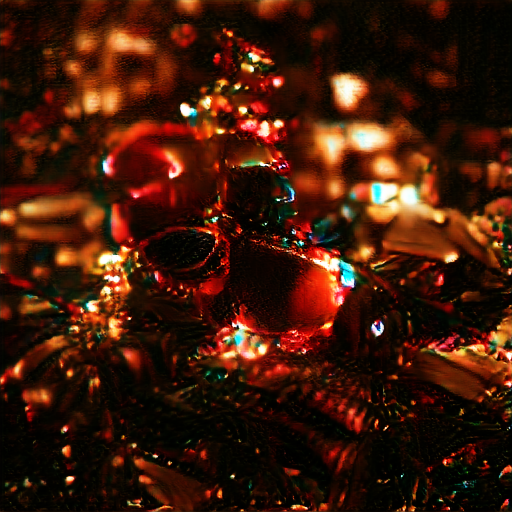
Christmas

medusa made of vines
Name: Big Sleep Minmax
Author: @!goose
Original script: https://colab.research.google.com/drive/12CnlS6lRGtieWujXs3GQ_OlghmFyl8ch
Time for 512×512 on a 3090: 1 minute 45 seconds
Maximum resolution on a 24 GB 3090: Locked to 512×512
Maximum resolution on an 8GB 2080: 512×512 3 minutes 10 seconds
Description: Another interesting Big Sleep variation. Allows a second phrase to be specified that is minimized in the output. For example if your prompt for a landscape painting has too many clouds you could specify clouds as the minimize prompt so the system outputs less clouds in the resulting image.

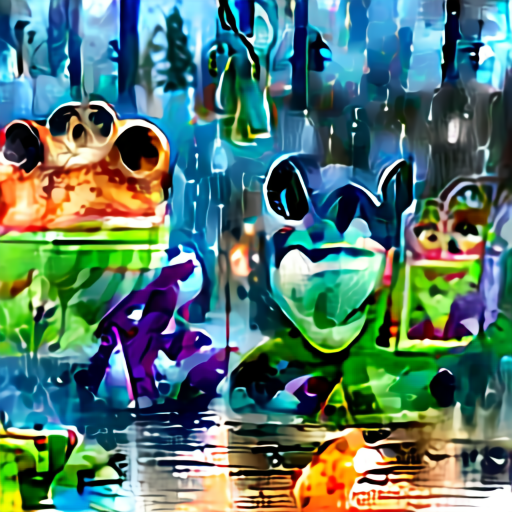
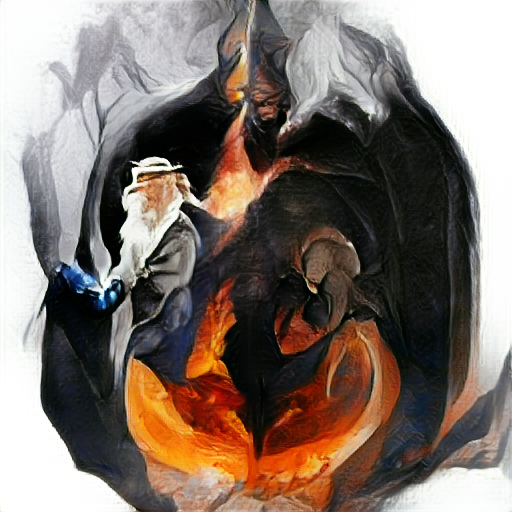
a charcoal drawing of an eyeball

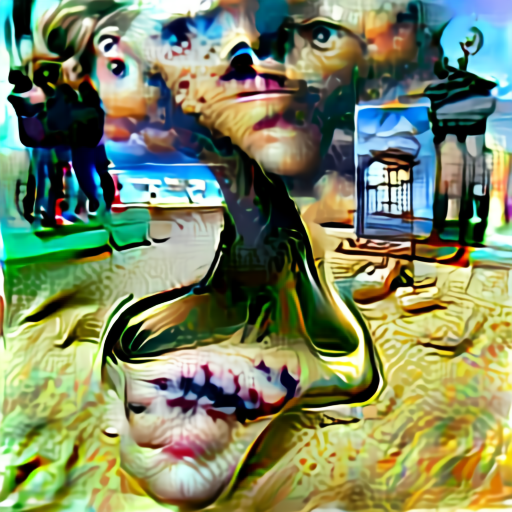
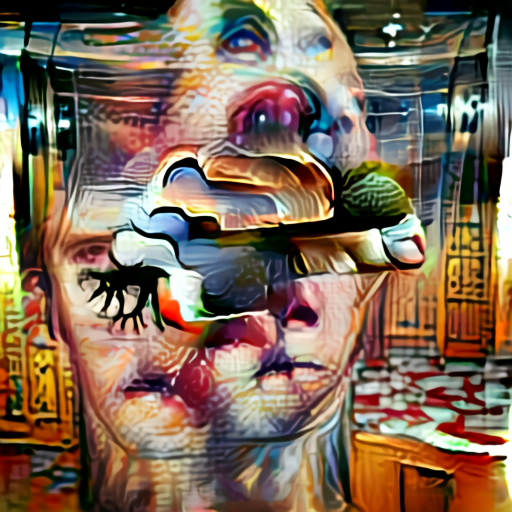
an ultrafine detailed painting of a crying person made of voxels

dense woodland

King Kong made of wrought iron in the style of Frida Kahlo

Michael Myers
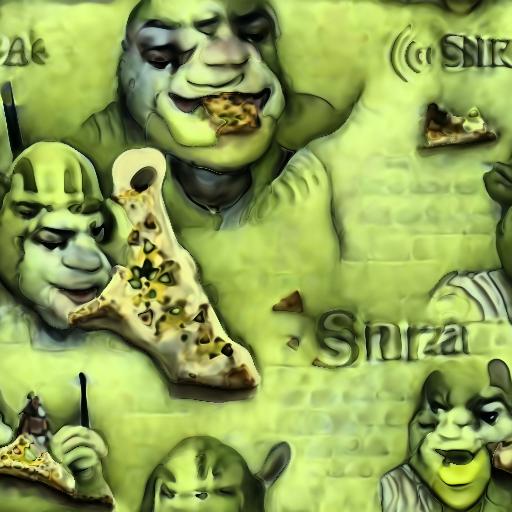
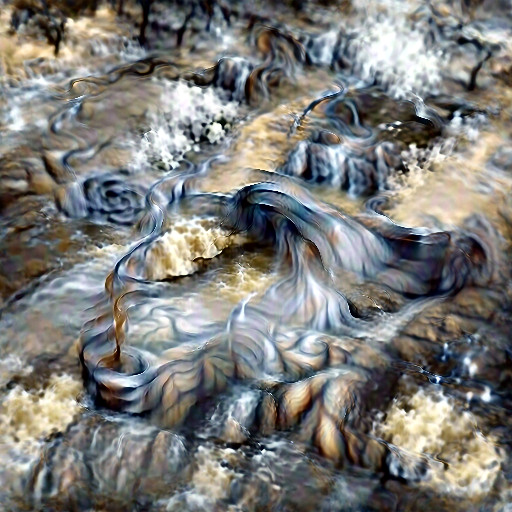
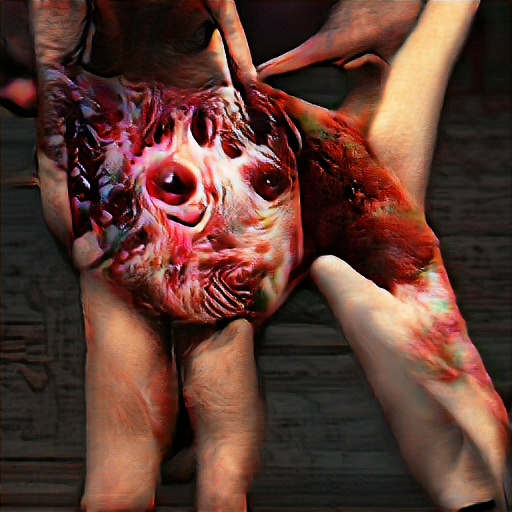
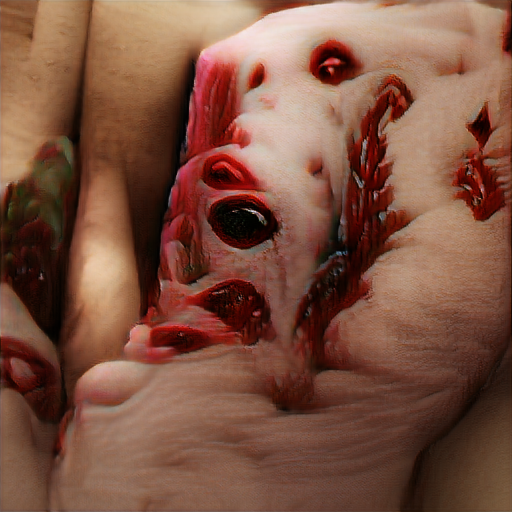
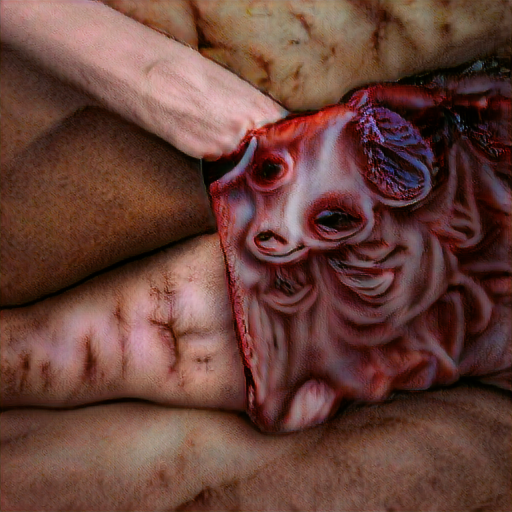
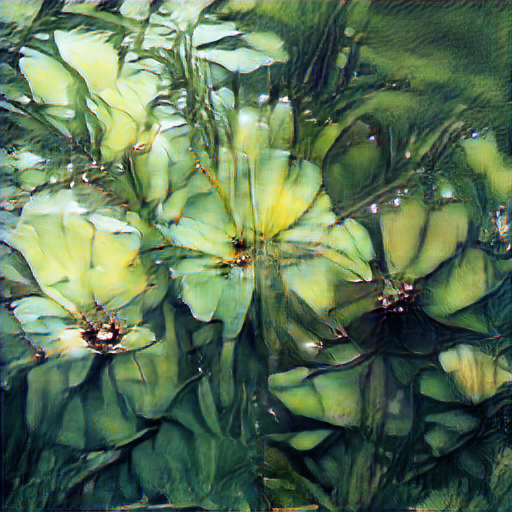
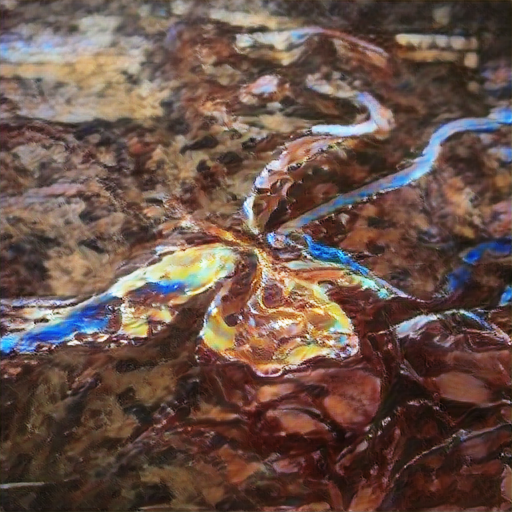
Name: CLIP Pseudo Slime Mold
Author: hotgrits
Original script: https://discord.com/channels/729741769192767510/730484623028519072/850857930881892372
Time for 512×512 on a 3090: 2 minutes 57 seconds
Maximum resolution on a 24 GB 3090: Locked to 512×512
Maximum resolution on an 8GB 2080: Unable to run on 8GB VRAM
Description: This one gives unique output compared to the others. Really nicely defined sharp details. The colors come from any color palette you select (currently all the 3,479 palettes within Visions of Chaos can be used) so you can “tint” the resulting images with color shades you prefer.
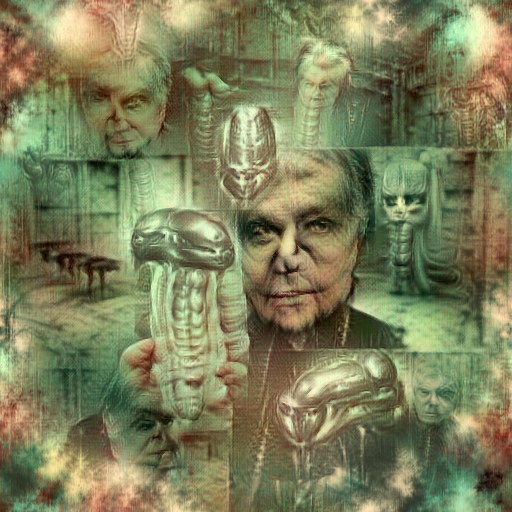
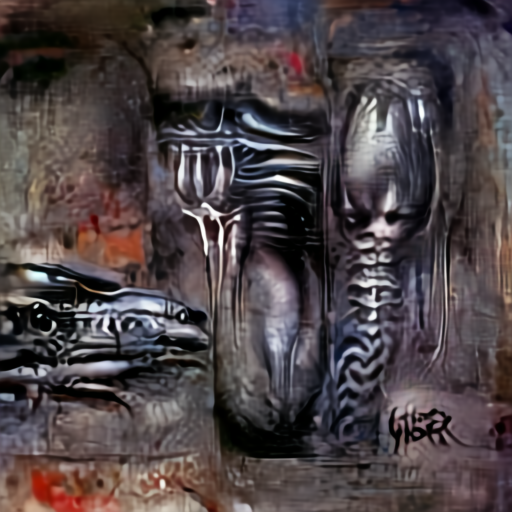
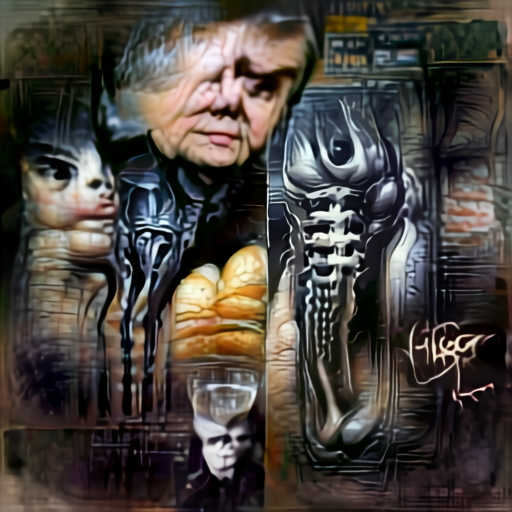
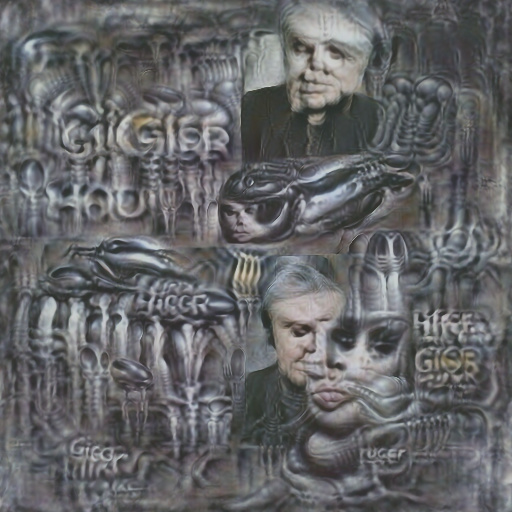
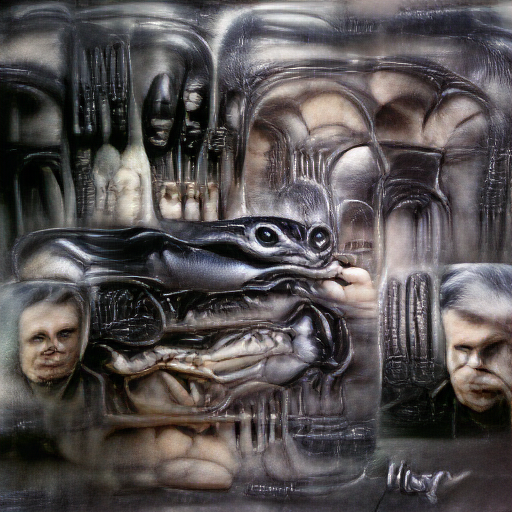
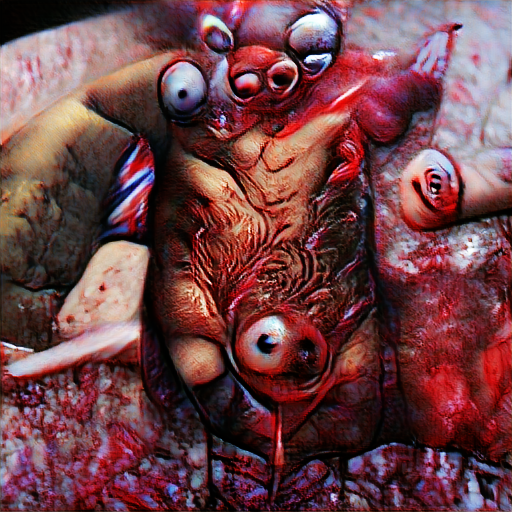
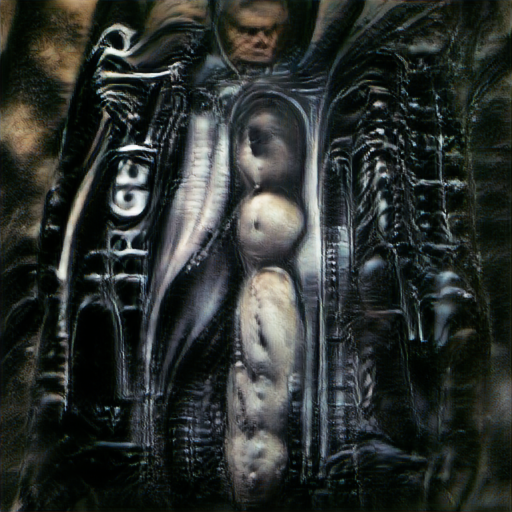
H R Giger

H R Giger with a different color palette

Shrek eating pizza

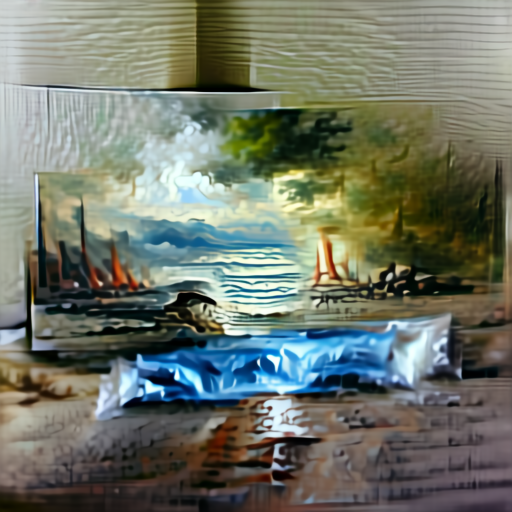
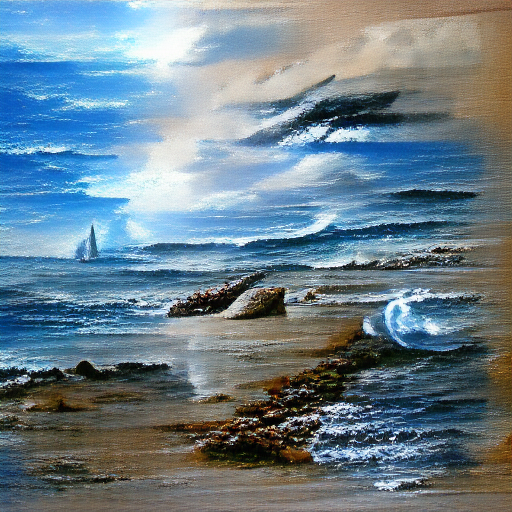
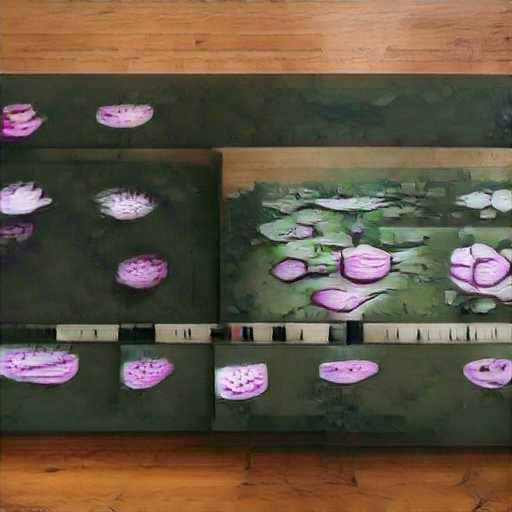
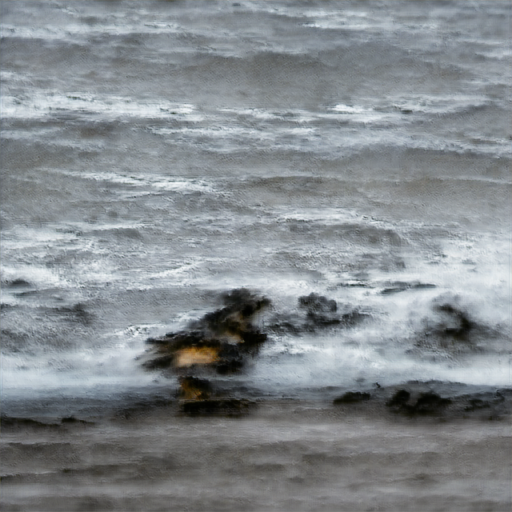
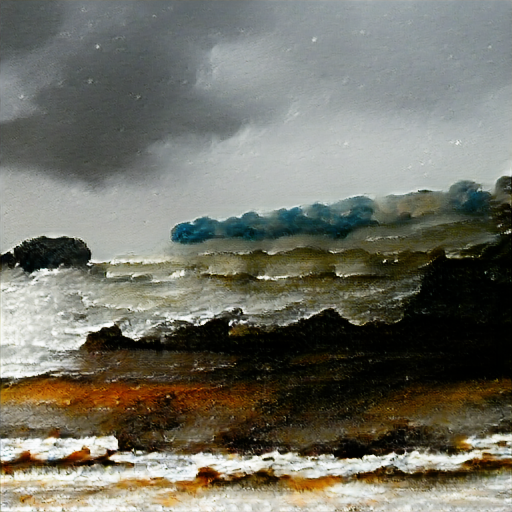
seascape painting
Name: Aleph2Image Dall-E Remake
Author: Daniel Russell
Original script: https://colab.research.google.com/drive/17ZSyxCyHUnwI1BgZG22-UFOtCWFvqQjy
Time for 512×512 on a 3090: 3 minutes 42 seconds
Maximum resolution on a 24 GB 3090: 768×768
Maximum resolution on an 8GB 2080: 256×256 3 minutes 02 seconds
Description: Another Aleph2Image variant.

a color pencil sketch of Jason Vorhees made of plastic

a cubist painting of a science laboratory

a green tree frog in the style of Kandinsky

a watercolor painting of Godzilla

an octopus
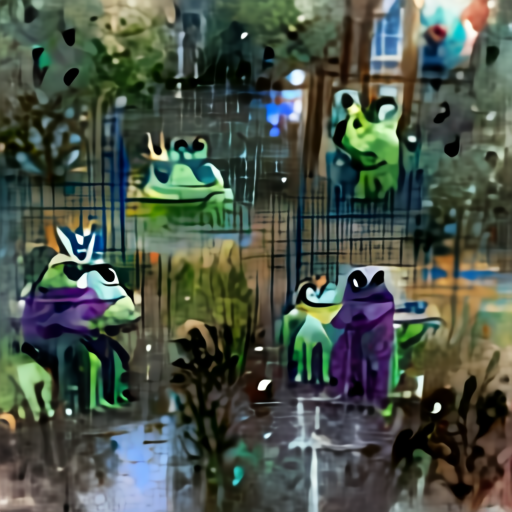
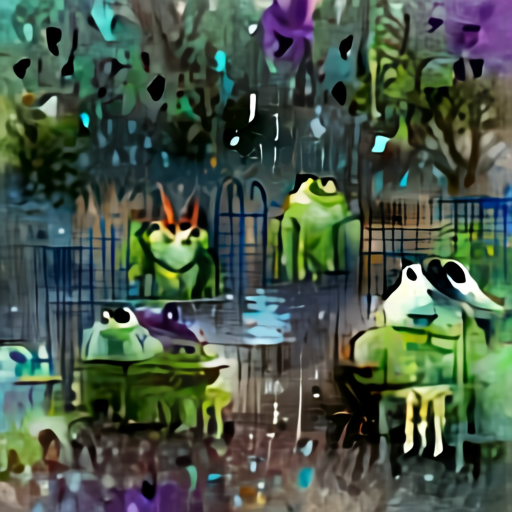
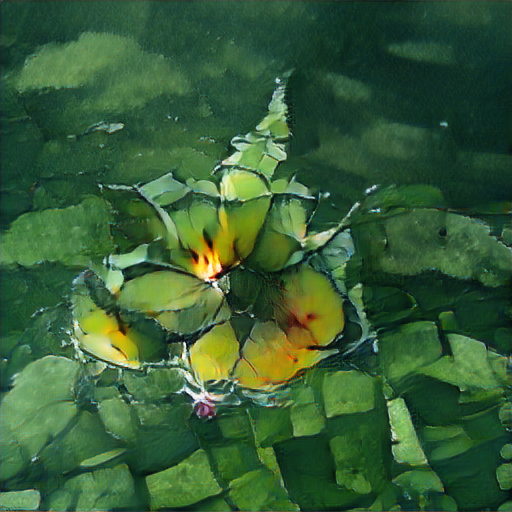
Name: VQGAN+CLIP v3
Author: Eleiber
Original script: https://colab.research.google.com/drive/1go6YwMFe5MX6XM9tv-cnQiSTU50N9EeT
Time for 512×512 on a 3090: 2 minutes 52 seconds
Maximum resolution on a 24 GB 3090: 768×768 or 1120×480
Maximum resolution on an 8GB 2080: 256×256 3 minutes 53 seconds
Description: “v3” because it is the third VQGAN system I have tried and it didn’t have a unique specific name. Gives clear sharp images. Can give very painterly results with visible brush strokes if you use “a painting of” before the prompt subject.

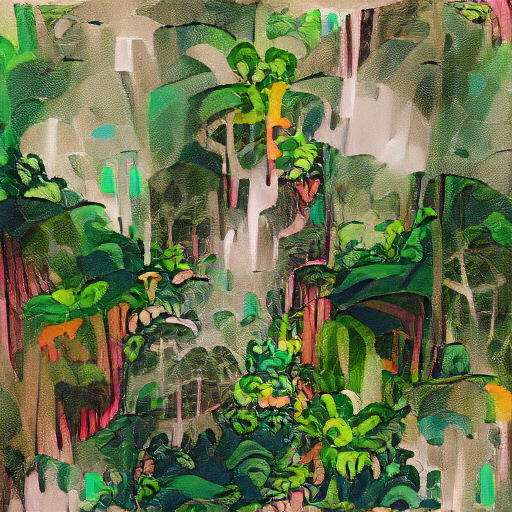
a pencil sketch of a campfire in the style of Da Vinci

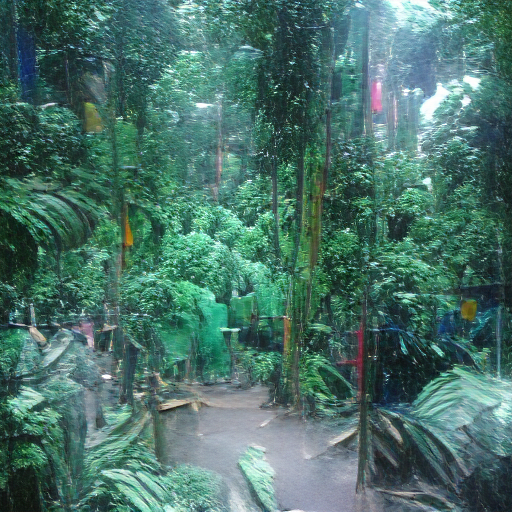
a pop art painting of a lush rainforest

a storybook illustration of a cityscape

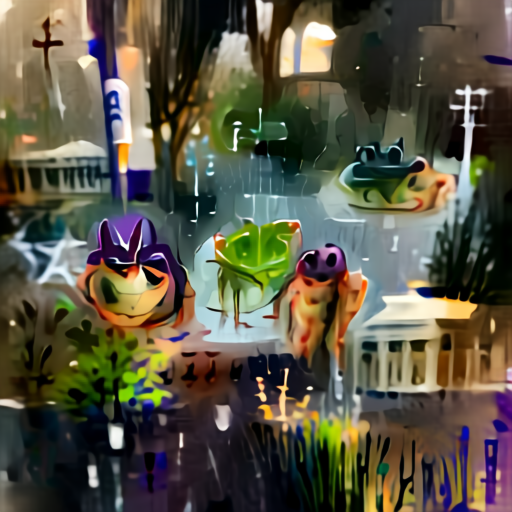
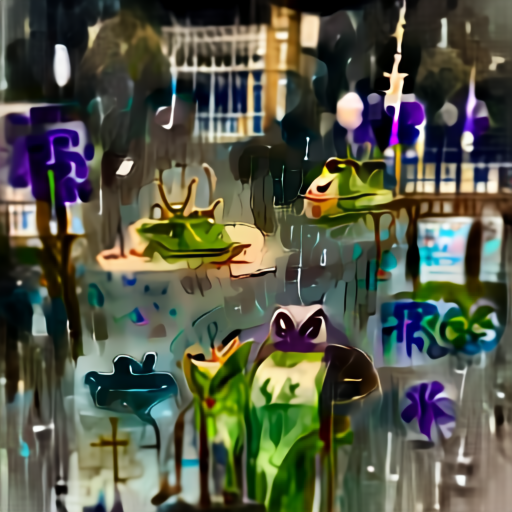
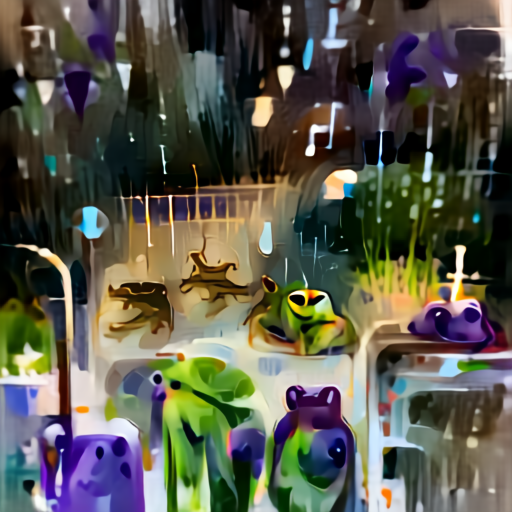
an airbrush painting of frogs

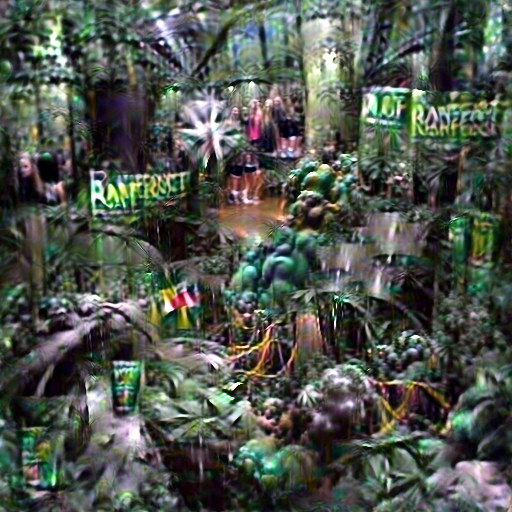
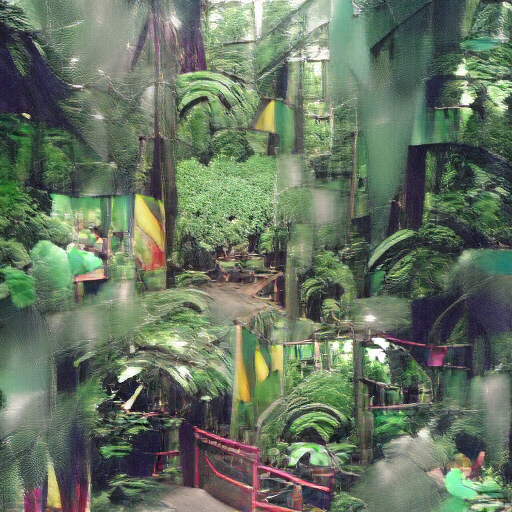
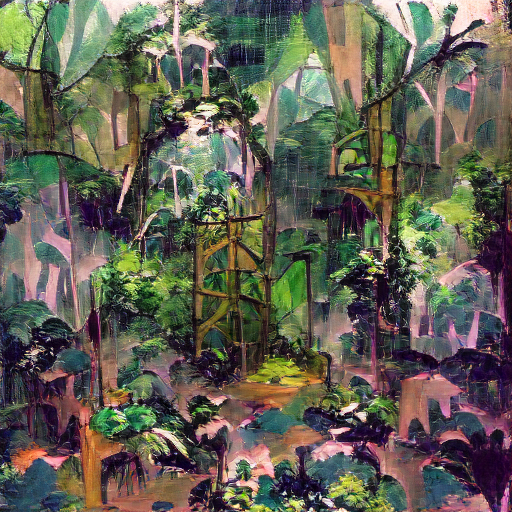
the Amazon Rainforest
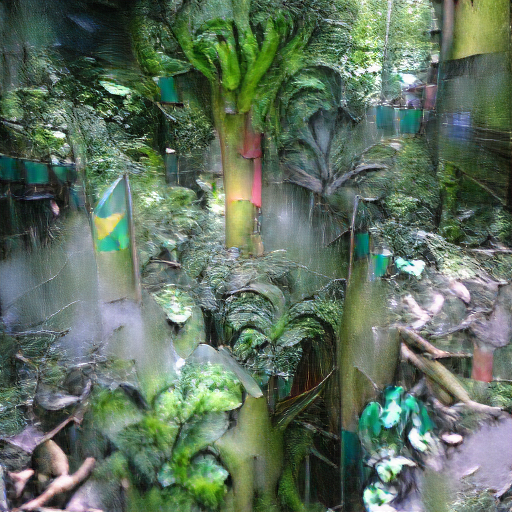
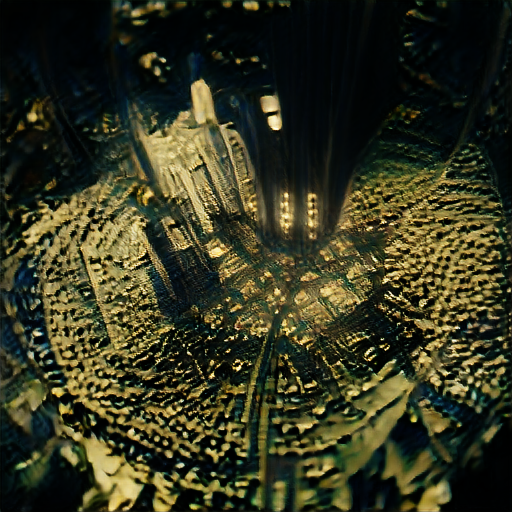
VQGAN+CLIP v3 allows specifying an image as the input starting point. If you take the output and repeatedly use it as the input with some minor image stretching each frame you can get a movie zooming into the Text-to-Image output. For this movie I used SRCNN Super Resolution to double the resolution of the frames and then Super Slo-Mo for optical flow frame interpolation (both SRCNN and Super Slo-Mo are included with Visions of Chaos). The VQGAN model was “vqgan_imagenet_f16_16384” and the CLIP model was “ViT-B/32”.
This next example movie is showing a “Self-Driven” zoom movie. As in a regular zoom movie the output frames are slightly stretched and fed back into the system each frame. The self-driven difference with this movie is that the Text-to-Image prompt text is automatically changed every 2 seconds by CLIP detecting what it “sees” in the current frame. This way the movie subjects are automatically changed and steered in new directions in a totally automated way. There is no human control except me setting the initial “A landscape” prompt. After that it was fully automated.
By default the CLIP Image Captioning script is very good at detecting what is in an image. Using the default accuracy resulted in a zoom movie that got stuck with a single topic or subject. One got stuck on a slight variation of a prompt dealing with kites, so as the zoom movie went deeper it only showed kites. Luckily after tweaking and decreasing the accuracy of the CLIP captioning the predicitons allow the resulting subjects to drift to new topics during the movie.
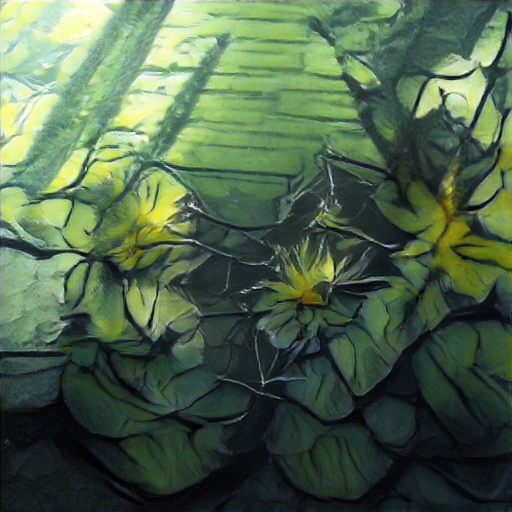
Name: VQGAN+CLIP v4
Author: crimeacs
Original script: https://colab.research.google.com/drive/1ZAus_gn2RhTZWzOWUpPERNC0Q8OhZRTZ
Time for 512×512 on a 3090: 2 minutes 37 seconds
Maximum resolution on a 24 GB 3090: 768×768 or 1120×480
Maximum resolution on an 8GB 2080: 256×256 3 minutes 05 seconds
Description: Another improved VQGAN system utilizing pooling. “v4” because it is the forth VQGAN system I have tried and it didn’t have a unique specific name.

a fine art painting of a cozy den

a king in the style of Kandinsky

a nurse in the style of Edward Hopper

a pastel of a demon

a watercolor painting of a mountain path
VQGAN+CLIP v4 allows specifying an image as the input starting point. If you take the output and repeatedly use it as the input with some minor image stretching each frame you can get a movie zooming into the Text-to-Image output. For this movie I used SRCNN Super Resolution to double the resolution of the frames and then Super Slo-Mo for optical flow frame interpolation (both SRCNN and Super Slo-Mo are included with Visions of Chaos). The VQGAN model was “vqgan_imagenet_f16_16384” and the CLIP model was “ViT-B/32”.
The text prompts for each part came from an idea in a YouTube comment to try more non-specific terms to see what happens, so here are the results of “an image of fear”, “an image of humanity”, “an image of knowledge”, “an image of love”, “an image of morality” and “an image of serenity”.
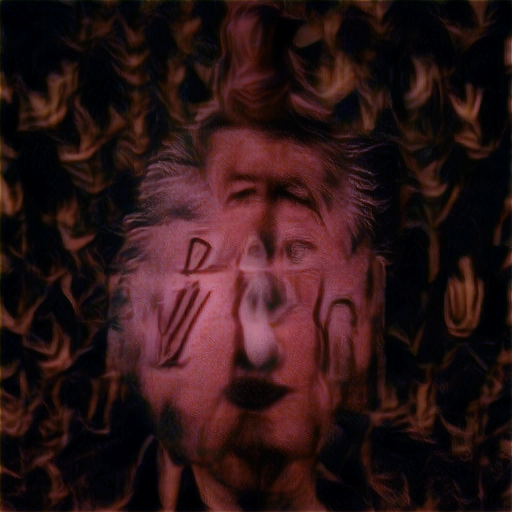
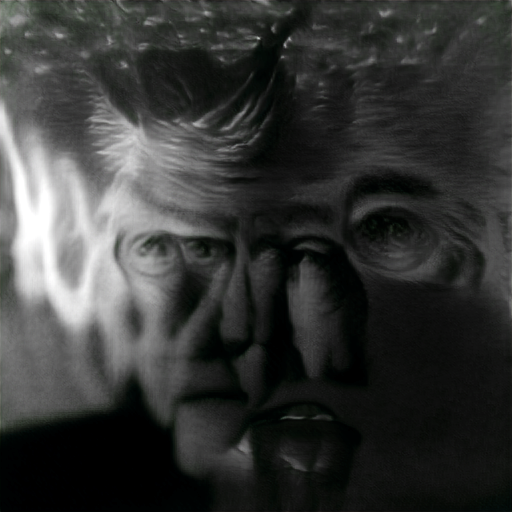
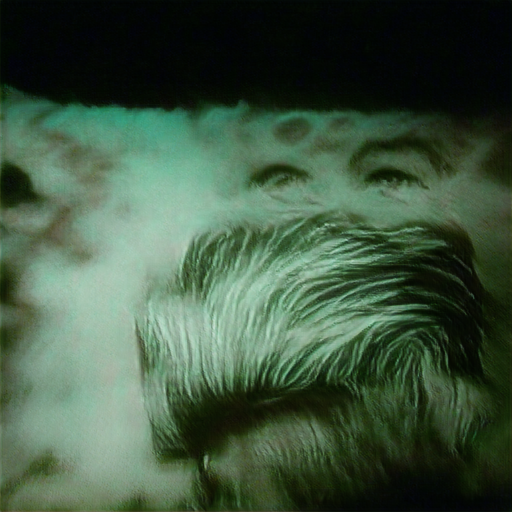
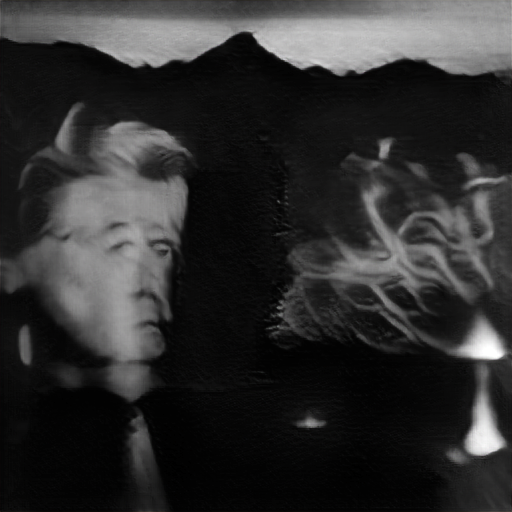
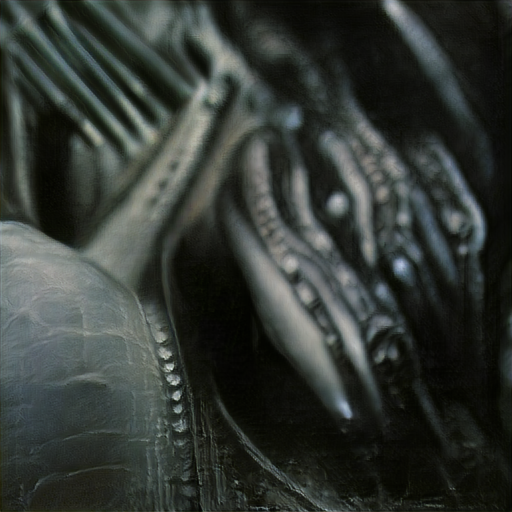
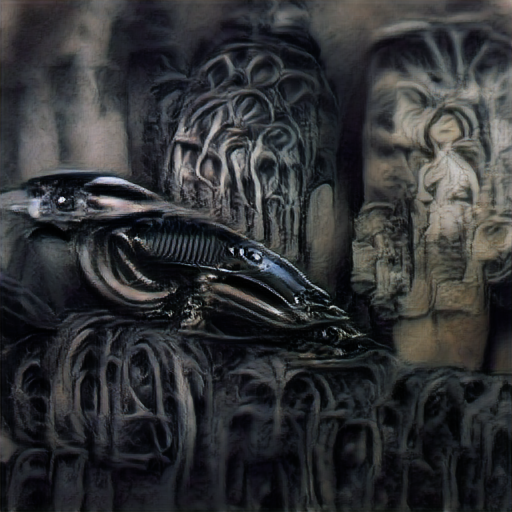
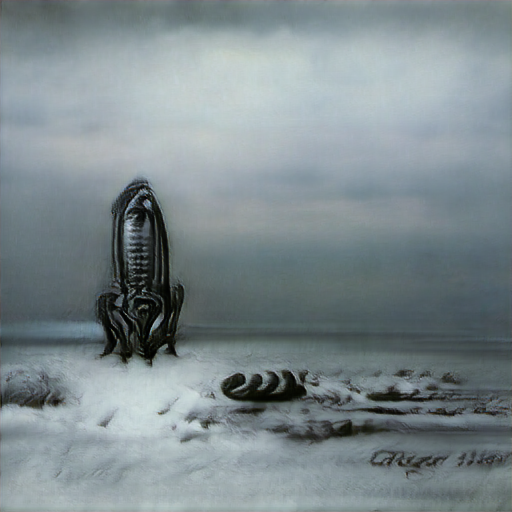
Here is another example. This time using the prompt of various directors, ie “Stanley Kubrick imagery”, “David Lynch imagery” etc. No super resolution this time. Super Slo-Mo was used for optical flow. I wasn’t sure if YouTube would accept the potentially unsettling horror visuals and I do not want to risk the hassle of a strike, so being on the safe side I am hosting this one on my LBRY channel only. Click the following image to open the movie in a new window. Note that LBRY can be a lot slower to buffer, so you may need to pause it for a while to let the movie load in.

If you find that too slow to buffer/load I also have a copy on my BitChute channel here.
Any Others I Missed?
Do you know of any other colabs and/or github Text-to-Image systems I have missed? Let me know and I will see if I can convert them to work with Visions of Chaos for a future release. If you know of any public Discords with other colabs being shared let me know too.
Jason.